


There are many ways you can manage your search results in ESP Web.
How to Mark Products
Marking products means you are selecting them so that they can be held on the Clipboard, added to a presentation, saved in a project or sent directly to customers.
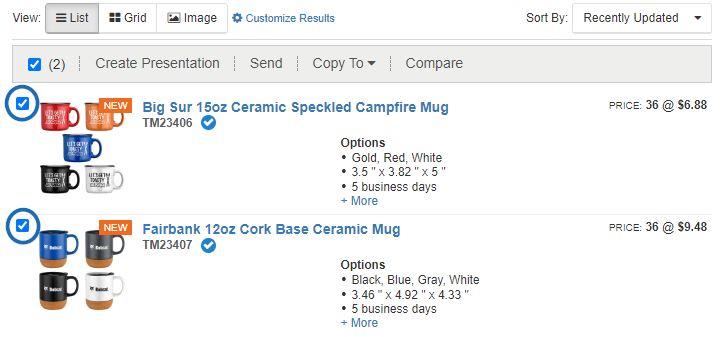
- From the List View:
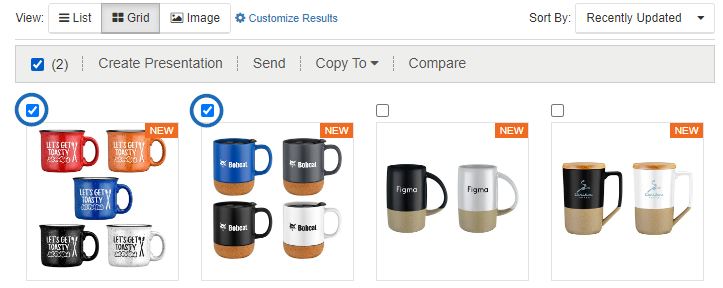
- From the Grid View:
- From the Image View:
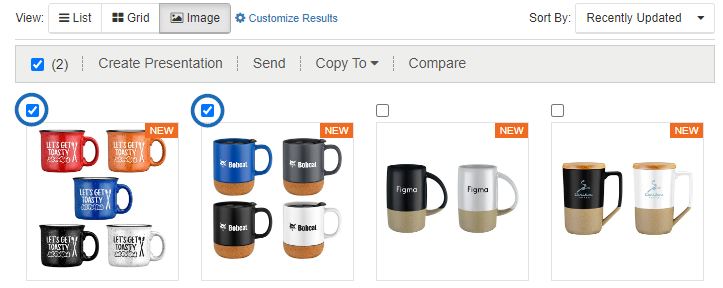
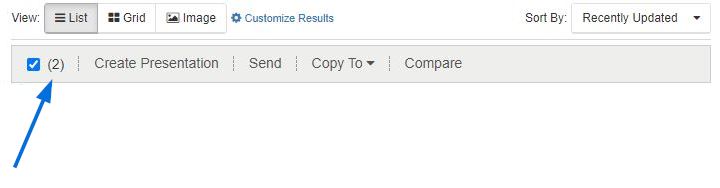
After marking products, the Marked Products Toolbar will appear
Options for Marked Products
After marking a product, a toolbar will appear which will enable you to manage the product. The available options are:
- Create Presentation: Create a new presentation using the marked product(s).
- Send: Send the selected product(s) via email with a PDF attachment. This option also enables you to download or print a PDF containing the marked items.
- Copy To: Move the marked item(s) onto the Clipboard or into a Project folder.
- Compare: Add the marked product(s) to the Product Compare ribbon.
Note: Marked products will carry through to all of the views. This means you can mark an item, view more information about it, and then return to the results without having to remark items.
Use the Clipboard
What is the Clipboard?
The Clipboard is a handy feature which enables you to hold up to 250 items. From the clipboard, you can compare products, send them to a customer, copy them to project folder, create a presentation, or even start an order! Items saved the Clipboard will be held for up to 90 days.
Add Individual Products to the Clipboard
To add products to the Clipboard from any product view in ESP Web:
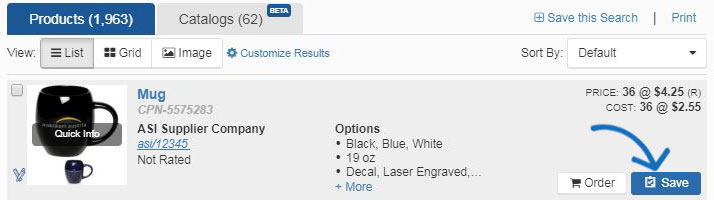
- From the List view: Hover on a product listing and then click on the Save button.
- From the Grid view: Hover on a product listing and then click on the Save button.
- From the Detail page: Click on the Save to Clipboard button.
- From the Quick views: Click on the Save button.
In the example below, the product is being added to the Clipboard from the List view.
Adding Multiple Items to the Clipboard
You can also place multiple items from the same search on the Clipboard by marking the items, click on the Copy To from the Marked Items toolbar and selecting Clipboard.

Features and Functions of the Clipboard
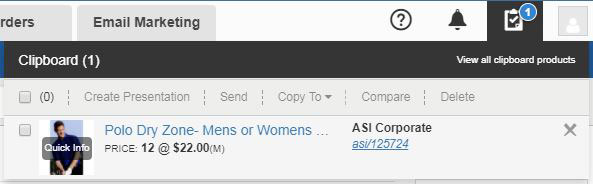
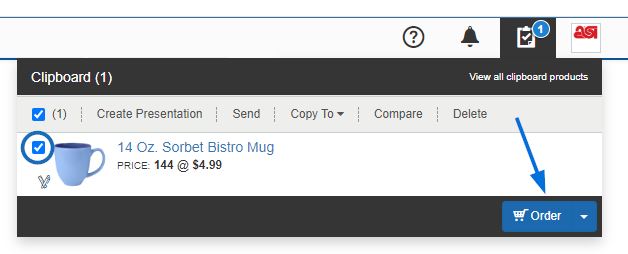
Click on the Clipboard icon to open your saved items.

Products are displayed with a checkbox, product image, product name, price and supplier name. You can mark one item, check specific products, or check the top checkbox to select all.
Once you have products selected, other actions will become available.
The actions you can take on the clipboard toolbar are:
- Create Presentation: Use the selected products to create a new ESP presentation.
- Send To Customer: Send the Detail page to a customer via email.
- Copy To: Save a copy of the selected products to a project folder.
- Compare: Add the product(s) to the Product Compare.
- Delete: Remove the product(s) from the Clipboard.
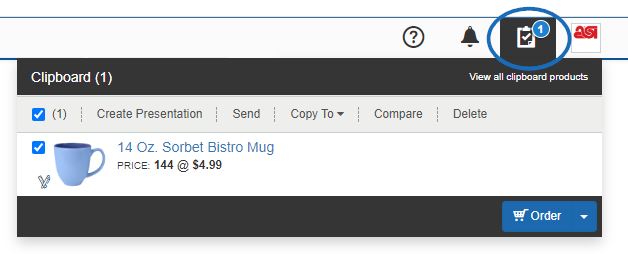
The Order button will be displayed at the bottom.
Order the Product(s) from the Clipboard
To create an order for a product that has been saved to the Clipboard, click on the Clipboard icon and then click on the Create Order button.
Note: Use the arrow to access the Create Quote button.
You will then be prompted to configure the product for order.
Compare Products
Locate the item(s) you would like to compare. Mark the product(s) and then click on the Compare button from the Marked Items toolbar.
The item will be added to the Product Compare which will open below the search toolbar.
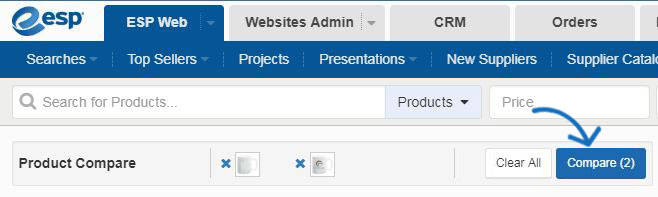
After adding all the products you would like to compare, click on the Compare button.
You can remove a product from the Product Compare bar by clicking on the X to the left of the item. You can also clear the Product Compare by clicking on the Clear All link.
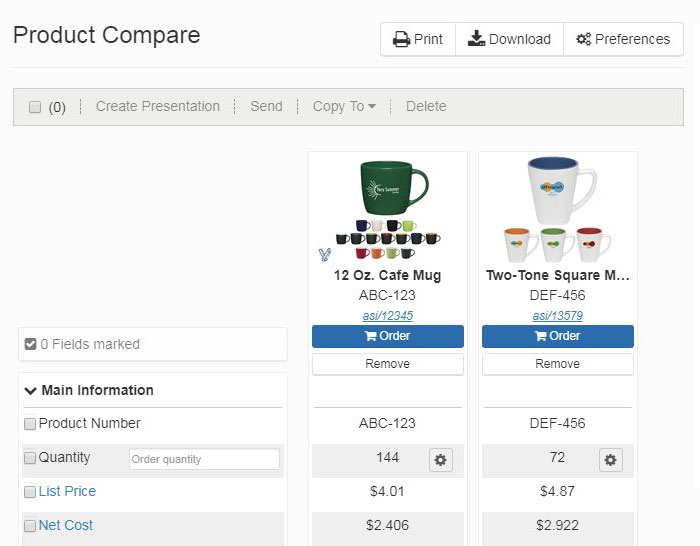
If there are over five items to compare, you will need to scroll horizontally to view more than the first five. In the Product Compare, you can select the fields you want to compare. You can use the Show all fields link to view all available comparison fields and the Show only marked fields to view only the fields you have selected. You can use the arrows for each individual field to sort in an ascending or descending order.
You are also able to click on the wand icon in the bottom left corner of the product image to create a virtual sample. Additional items can be added from the clipboard. You can remove products by clicking on the Remove button. You can remove more than one item at a time by marking products and then using the Remove button. Mark products from within the Product Compare and then use the Add button to add the selected item(s) to the Clipboard, an existing presentation, a project folder, or create a new presentation.
You can type a quantity in this box that will show the accurate prices in the list price and net cost rows. If the item is not available in the quantity you entered, that criteria will be grayed out in the Product Compare.
Save the Search
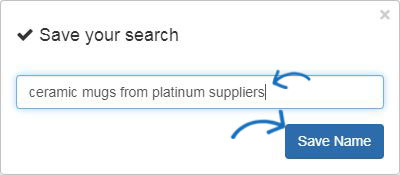
After you do a search in ESP, save your search by clicking on the Save link above the Search Within box.

Type in a name for your search in the pop-up window and click on Save.
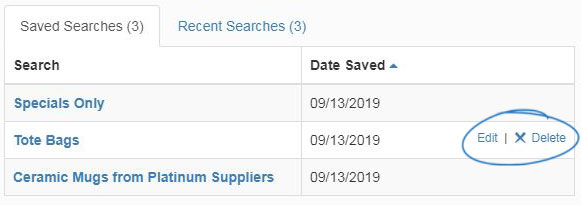
Saved searches are stored in the Searches section of the ESP Web toolbar under My Saved Searches.
To access Saved Searches, click on the Searches dropdown and then click on My Saved Searches. Clicking on an individual saved search will display the product results.

All saved searches will be available in the My Saved Searches listing until they are deleted. Hovering on a listing will display the Edit and Delete options. Edit enables you to rename the saved search and delete will remove it.
Order the Product(s)
After locating the item, hover on the listing and click on the Order button.
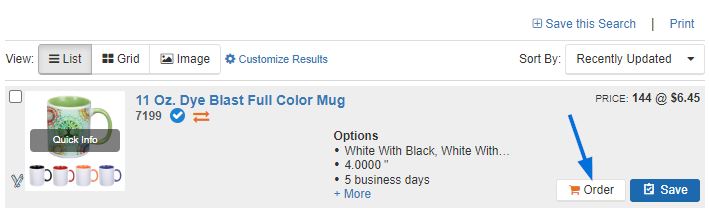
You will then be prompted to configure the product for order.
 Français
 Español