During the order process, ESP Web enables you to create an invoice for the customer, as well as track payment information.
The first step is to log into ESP Web and click on the Orders tab.

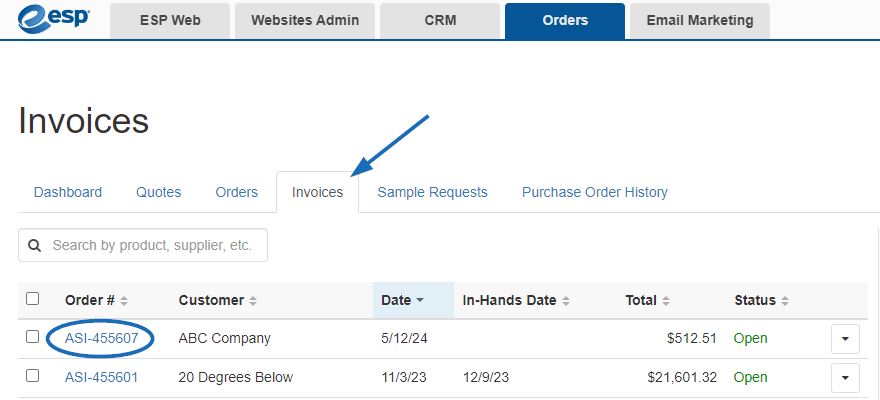
If you have already created an invoice, click on the Invoices tab in the Orders area. Locate the invoice and click on the order number.
Note: If an invoice has not yet been created, one can be created from the main order.
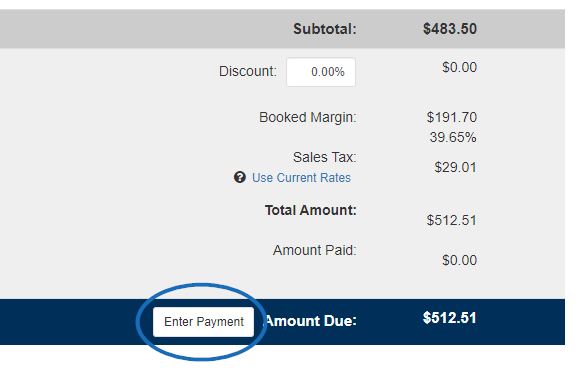
Scroll to the bottom of the invoice and click on the Enter Payment button.
Note: If the Enter Payment button is not available, go to the Company Profile section of the Admin Settings to enable this option.
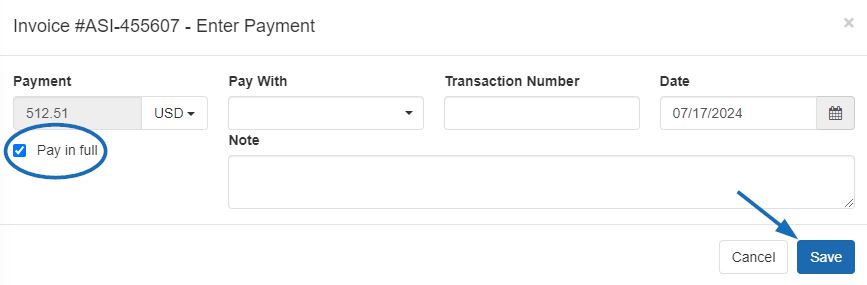
The Enter Payment window will appear. To indicate a payment for the entire balance, check the "Pay in Full" option. To indicate a partial payment, uncheck this box. Use the Pay With drop-down to indicate the type of payment, such as Check, Credit Card, etc. The date will automatically default to the current date but can be changed using the calendar icon. If desired, enter a transaction number and/or notes in the available boxes.
When you are finished, click on the Save button.
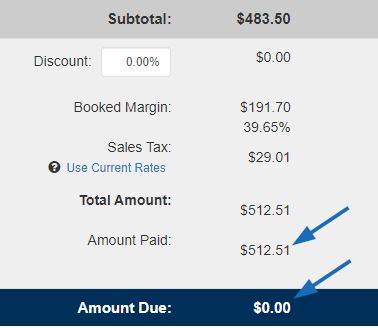
The pricing information for the invoice will be updated to reflect the amount entered. If the amount was paid was paid in full, the Enter Payment button will not be displayed.