


The Global Features area enables you to manage options and functions that can be any site in the ESP Admin.
From the Global Features dropdown, you can access these options:
My Saved Searches
Saved Searches, also referred to as Select-A-Searches, are links to already established searches. The links act as shortcuts to predetermined product searches, like "caps & hats."
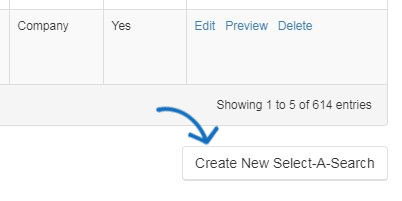
To create a new Select-A-Search, click on the "Create New Select-A-Search" button, where you can use the ESP Web Quick Search to create your searches.
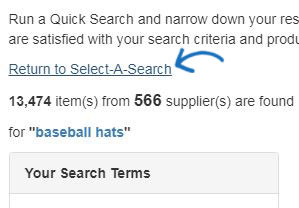
Type your search criteria using keywords into the search field and click Go. After you’ve completed your search, you will need to save it
After you have narrowed your search, you will need to save it.

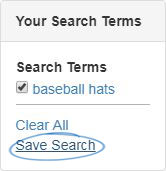
Note: You can further refine your search by using the Narrow Results area under the "Your Search Terms" box.
To save this search, click on the Save Search button.
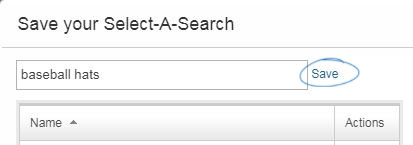
A window will open where you can name the search. After naming the search, click on the Save link.
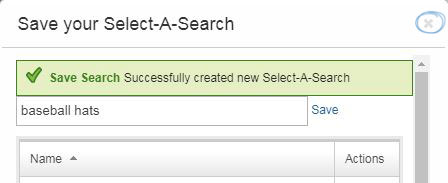
You can see a confirmation that this Select-A-Search has been saved successfully and has been added to your list of already existing select-a-searches. Click the "X" to return to the search area.
Repeat the steps above to add more select-a-searches to your ESP Website. Once you are finished, click on the "Return to [Features – Select-A-Searches]" link.
After you have created your Select-A-Search, you can add it as a link in navigation.
Coupon Manager
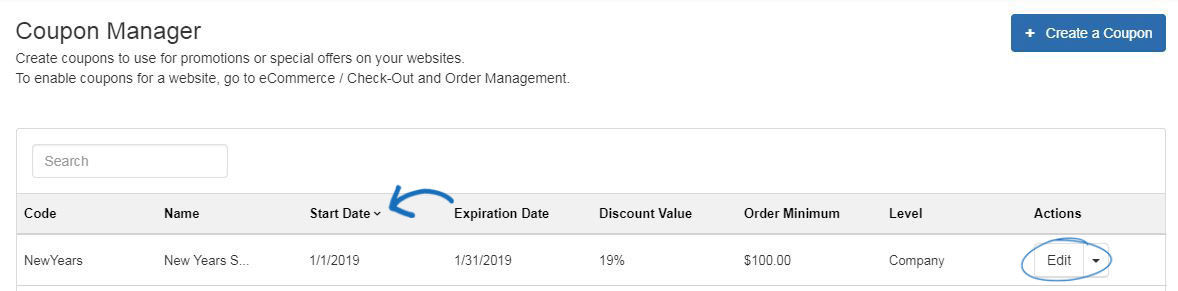
In the Coupon Manager section, you can edit, copy, or delete already existing coupon codes, or create new ones. Within the Coupon Manager, all existing coupons will be listed. Use the search bar to help you locate an already created coupon or click on any heading to sort in an ascending or descending alphanumeric order.
Note: Discount Value and Order Minimum are not clickable columns for sorting.
To delete, copy, or edit an existing coupon, select the option using the dropdown in Actions column.
- Edit: Will open the coupon properties and you will be able to update the information.
- Copy: Will create a new coupon using the information of the original one.
- Delete: Will remove the coupon.
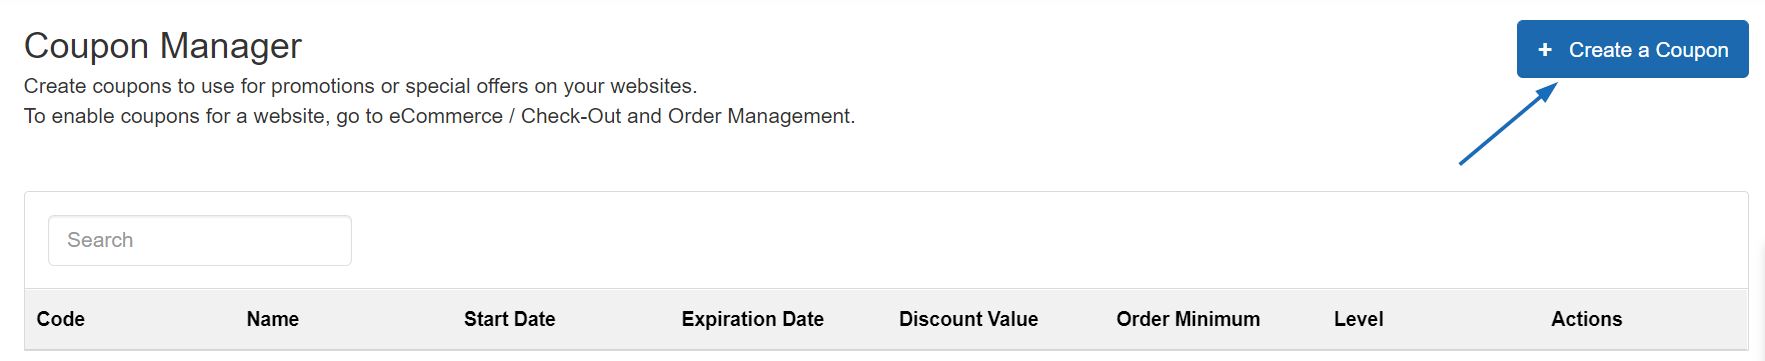
Creating a New Coupon
To create a new coupon code for your site, we can click on the Create New Coupon button.
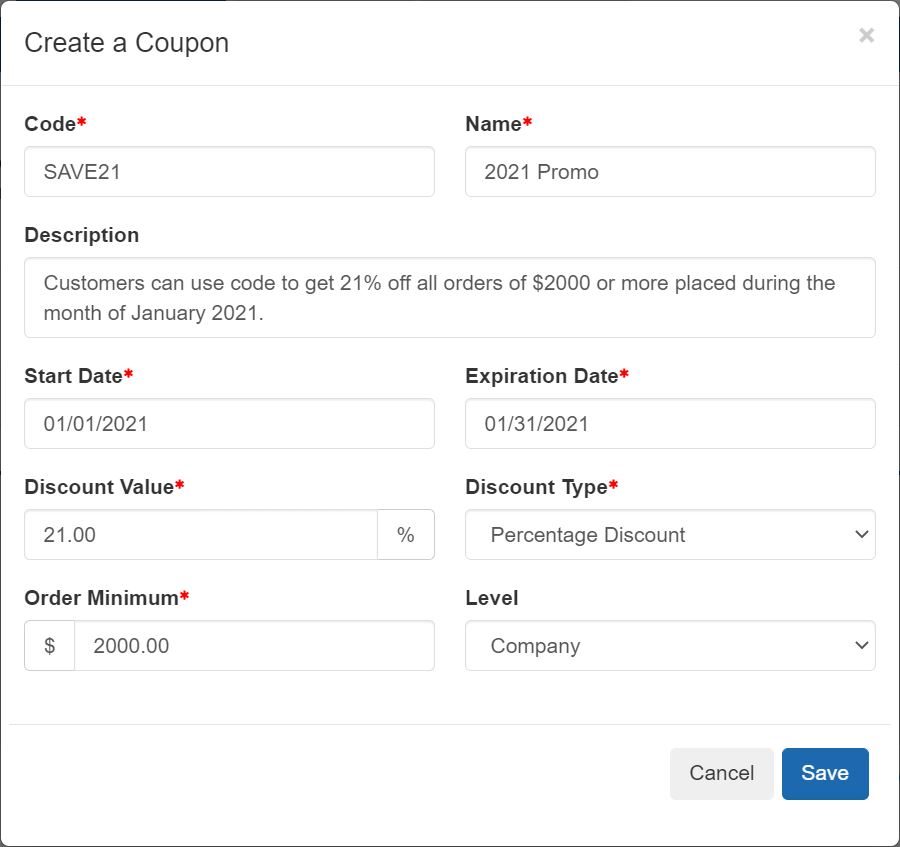
In the Create A Coupon window, enter the desired information into the required fields. The required fields are:
- Coupon Code
This is the code shoppers will enter during the checkout process on your site. - Coupon Name
The Coupon Name will be searchable in the Coupon Manager. - Description
This information will not be shown on your ESP Website or Company Store, but is for your reference and not a required field. - Start and End Dates
These dates will help determine when the coupon will be active on your ESP Website or Company Store. - Discount Value and Discount Type
Type the discount value and then use the Discount Type dropdown to select Amount Discount or Percent Discount. - Order Minimum
Enter the minimum amount necessary for this coupon to be applicable. - Level
The level will determine the visibility of this coupon information to users within your company.
When you are finished entering the specifications for the new coupon, click on the Save button.
The new coupon will now be added to the Coupon Manager list. The coupon code will be active from the start date until the end date.
Enabling Coupon Acceptance
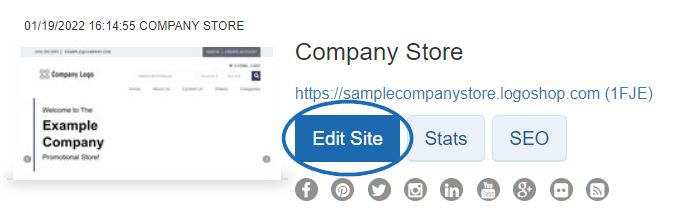
After locating your site in the My Sites area and clicking on the Edit Site button.
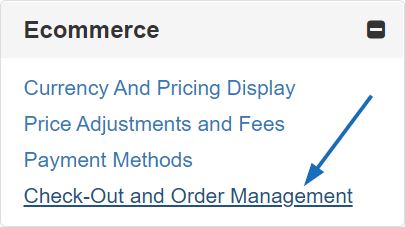
Expand the eCommerce section. Then, click on the Check-Out and Order Management link.
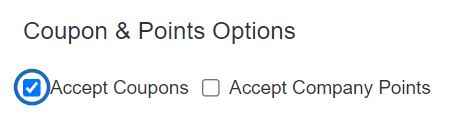
Go to the Coupon & Points Options section and check the Accept Coupons checkbox.
Custom Products
The custom products area will open and display all available custom products. There are two ways to create a custom product:
- Search & Copy: Enables you to search for product that is already listed on ESP and customize the product information.
- + Add a New Product: Add your own product data into a blank template. View a webinar on how to add and apply a custom product.

Customize an Existing Product
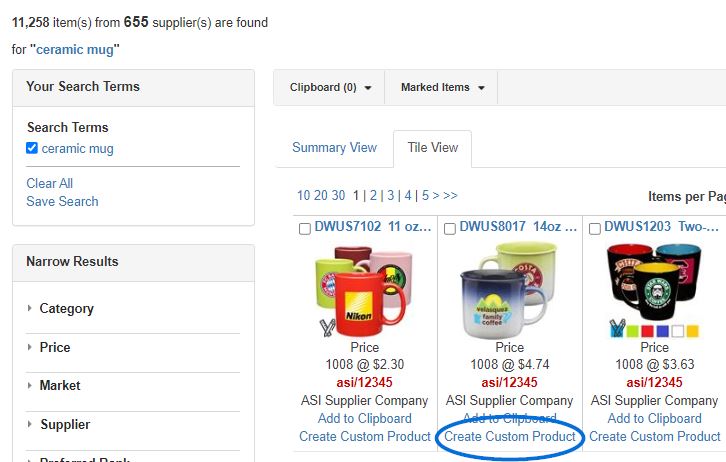
To modify an existing product, click on the Search & Copy button. Use the ESP Web Quick Search bar to enter keywords, a product name or a product number. Use the Narrow Results section to refine your search results and locate the particular product you are looking for.
Building a Custom Product
Click on the + Add a New Product button from the Custom Products Manager.
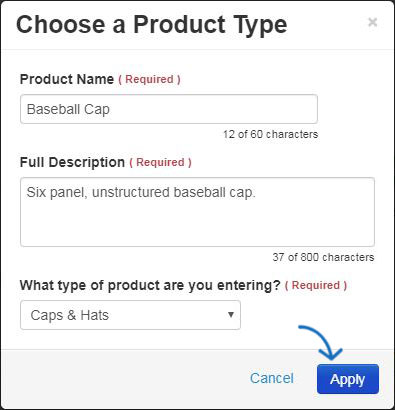
A window will open prompting you to enter a Product Name, Product Description and Type of Product. Type the Product Name and Product Description in the available boxes. Use the “What type of product are you entering” dropdown to select a product type.
Once you are finished entering information, click on the Apply button.
The Basic Details area will open and you can begin entering information about this product in the available sections:
To watch a tutorial on how to add this information, please review the webinar below.
Content Library
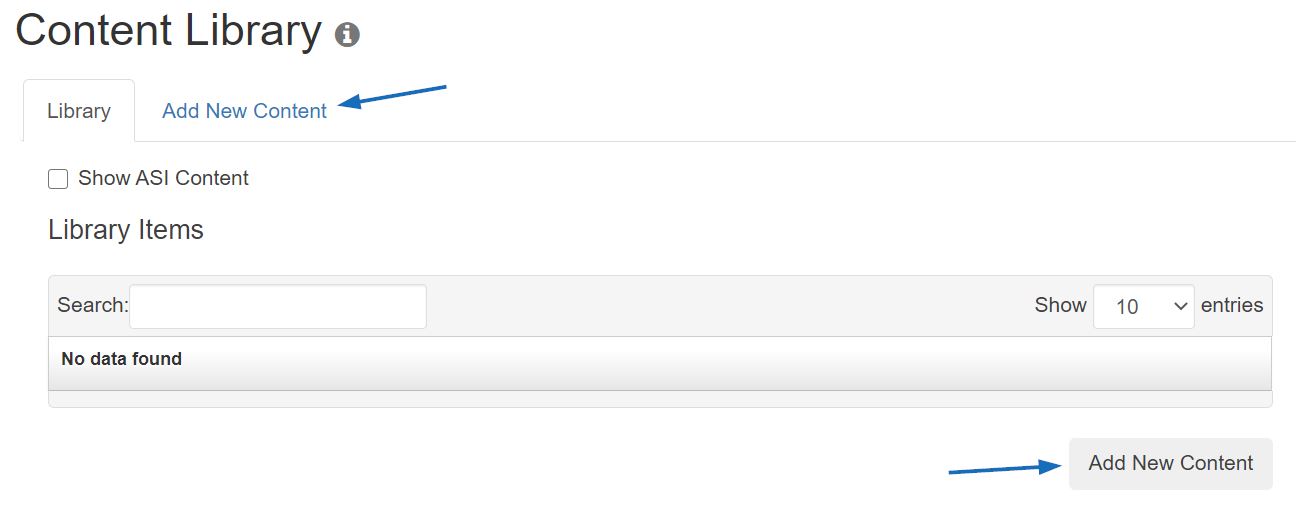
To create new content for use on your ESP Websites and/or Company Stores, select Content Library from the Global Features and click on the "Add New Content" button or tab to create a content block.
After you've clicked the "Add New Content" button or button, you can begin entering information. The editor will open in a "WYSIWYG" format, meaning What You See Is What You Get. This means that you can add images and content directly in this window and edit how it looks using the available options. If you are familiar with HTML code, you can use the code editor option to update content as well.
Adding Images
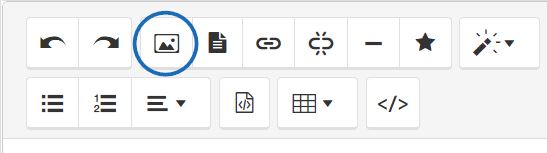
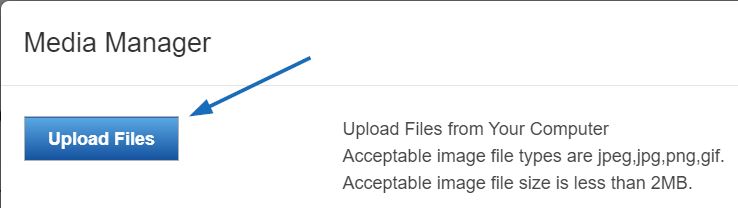
To upload an image to your content, click the camera icon from the toolbar.
The Media Manager will open. All previously uploaded images from all users in your company will be available in the Media Manager. To upload a new image, click on the Upload Files button, navigate to your image, select it and then click on Open.
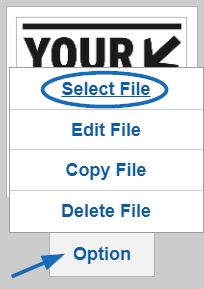
Your image will be added to the Media Manager. Hover on the image and click Select File to add it to your content.
You can repeat this process to upload multiple images. When you are finished making your changes, click on the Save button at the bottom right side of the editor.
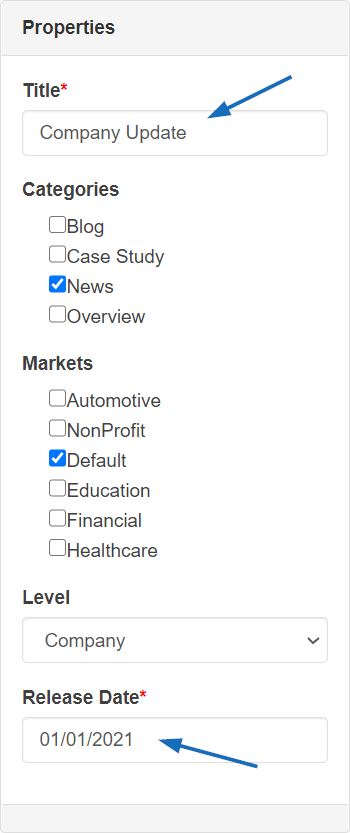
Properties
The properties box on the right is where you can enter the title for your content. You have the option to attach your content to specific Categories and Markets, but this is optional. You can select a level and then enter a release date. The release date will indicate when this content will become available. If at a later date, you no longer want the content to display, you will need to either edit your release date or remove the content from your web page.
After you've finished making changes, click on the Save button under the content window.
Once you have finished creating and saving, you can apply this new content to your ESP Website or Company Store.
To apply your content to your site, expand the Pages & Menus by clicking on the plus button and then click on the Advanced Page Manager link.
Note: To close the menu, click on the minus button.

Exclusion Lists
To create a new exclusion list, click on the "Create a New Exclusion List" button. Then, fill in the required fields in the Create a New Exclusion List box.
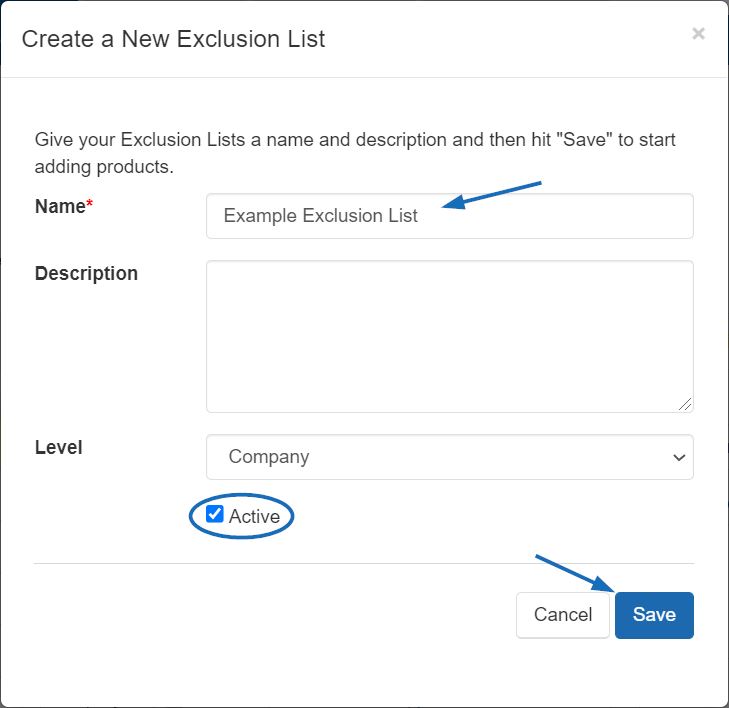
After clicking on Save, you will automatically be taken into the ESP Web Quick Search, where you are able to search for products to add to your exclusion list.
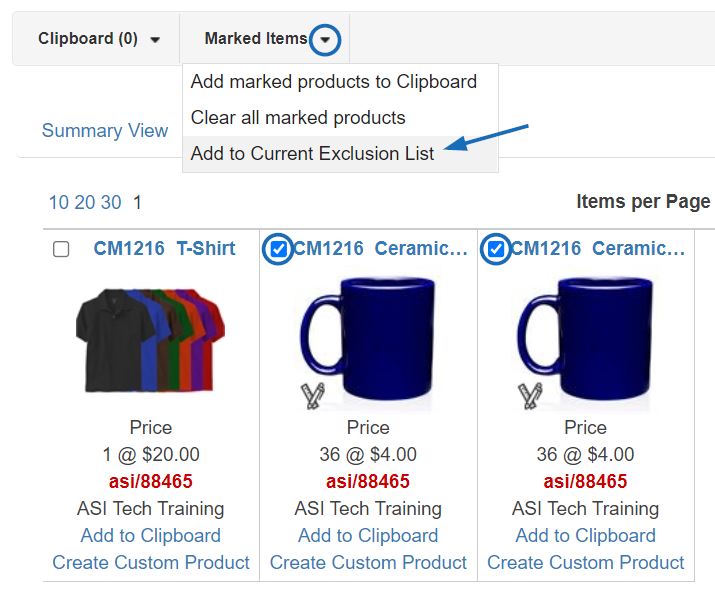
After you have completed your search, mark the items you would like to exclude from your site. You can mark up to 100 items at a time. After you have marked the items, click on the Marked Items dropdown. You can select to add the marked products to an existing list or to the current list
When you are finished adding to your list(s), click on the Return to [Features – Exclusion Lists] link.
On the Exclusion Lists page, click on the Save button under Properties to save the list with the products you've selected.
Apply An Exclusion List
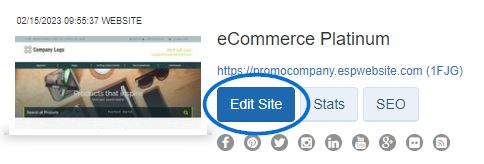
You will need to apply this exclusion list. To do this, click on My Sites from the Management Toolbar, then locate your site and click on the Edit Site button.
Click on the plus button to expand Website Settings and then click on Exclusions.
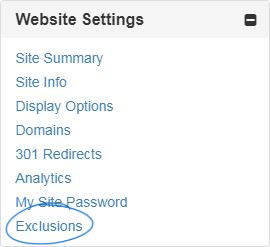
Note: To close the menu, click on the minus button.
In this area, you can:
- Click an individual list or hold CTRL to select multiple lists, and then use the right pointing arrows to add these to the Selected List box.
- Use the double right pointing arrows to add all available lists to the Selected List box.
- Click an individual list or hold CTRL to select multiple lists in the Selected Lists, and then use the left pointing arrows to remove them from the Selected List box.
- Use the double left pointing arrows to remove all selected lists.
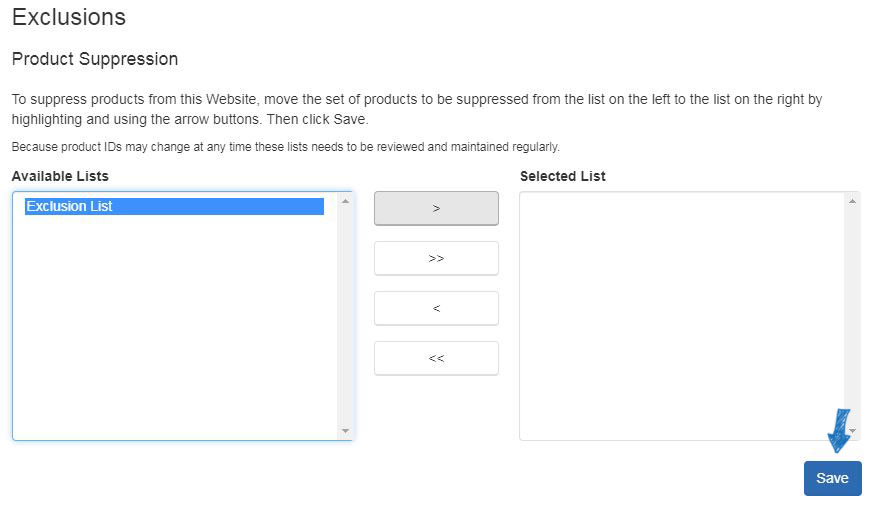
Click on the Save button when you are finished. Click on the Make Changes Live to publish these changes.
Category Control
ESP Websites enables you to limit the categories on your site. Just like with product lists, click on a category from the options on the and then click on the single arrow to move it onto the excluded list.
Note: A product that is listed multiple categories and one of the categories tied to the product is set as excluded from our site, that product will not appear in related categories.
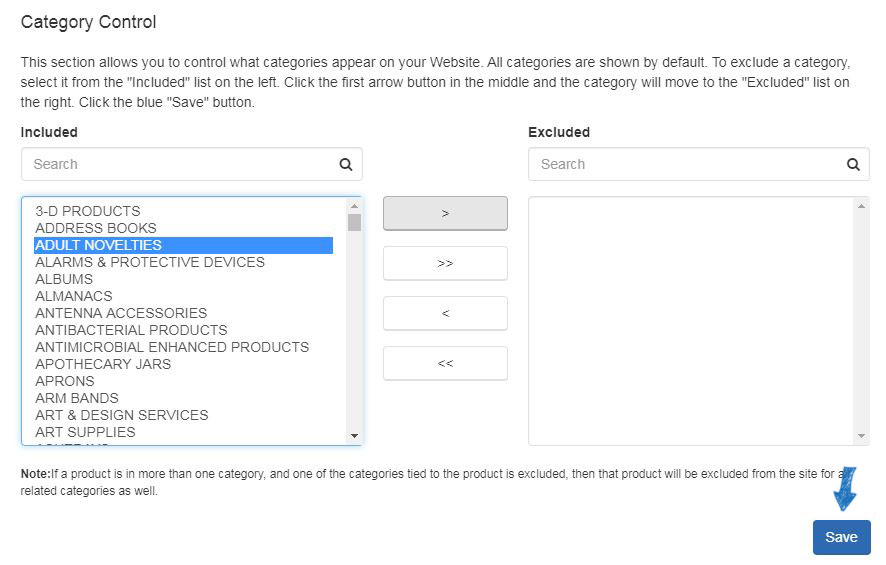
Click on the Save button when you are finished. Click on the Make Changes Live to publish these changes.
Supplier Control
ESP Websites enables you to limit the suppliers shown on your site. In the Exclude a Company box, begin typing a supplier name or ASI number. The matching results will appear below and we can click on the "Add to Excluded List" button.
To remove a supplier from the Excluded List, hover on the supplier listing and then click on the "Remove from Excluded List" button.
Click on the Save button when you are finished. Click on the Make Changes Live to publish these changes.

Coded Products
Coded product numbers are distinct call numbers for products which are individualized for your company. These numbers are different from the supplier's product number. A benefit to using coded product numbers is that the numbers only correspond to products on your ESP Website. This means that every user under your ASI number will have the same coded product number for an item.
The Coded Products option in Global Features provides a search for coded product numbers. If you have not enabled coded product numbers for your ESP Website or Company Store(s), you will need to do so in the Website Settings - Display Options area.
To search for Coded Products or to retrieve the real product number with supplier information, click on Global Features and select Coded Products from the dropdown.
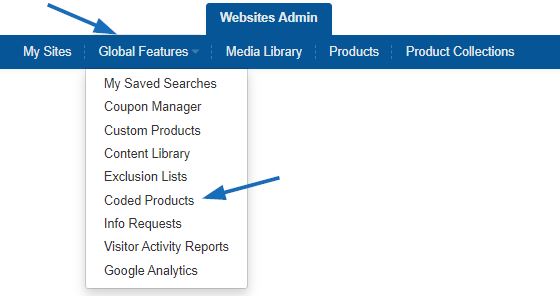
Type in or paste the coded product number and then click on Go.

The product will be displayed in the Detail view with all information, including the real product number and supplier information.
Information Requests
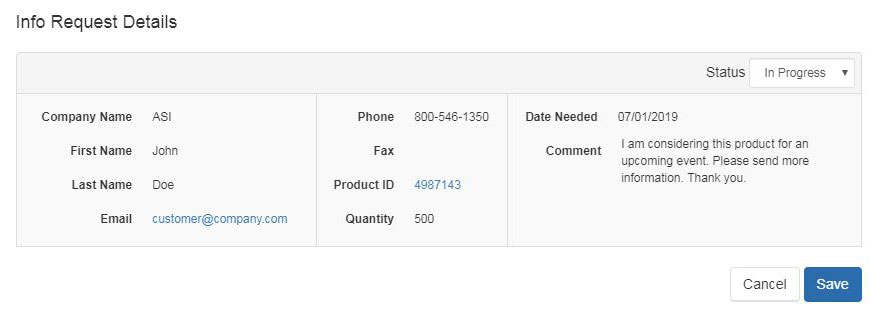
Information requests enable visitors to your site to send a request for more information prior to purchasing. In the Information Request area, you can view the visitors' company name, email, phone number, date they need the product, status of the request, name of your site, and the Action Items. In the Action Items, you can click "Edit" to view the Info Request Details (this will open below the Manage Info Requests section).

In the Info Request Details area, you will able to view all of the information that was entered in the information request. You can click on the "Product Info ID" link to view the Product Detail page. You can also change the status of the info request by clicking on the Status dropdown. The status of an info request can be: New, In Progress, or Completed. After you have made your selection, click on Save to save your changes.
Visitor Activity Reports
The Visitor Activity Report section enables you to view information regarding various features on your site and how often they are being used. Select a month and a site using the dropdowns provided.

Use the links on the left side to view information for that function. The available functions are Searches and Keywords, Product Views and Shares, Featured Product Sets (Product Collections), and Product of the Day and Banner.
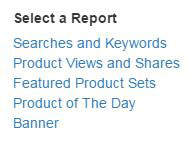
Note: If a feature is not active on your site, it will not be available in the links on the left under Select a Report.
Google Analytics
To go directly to in-depth information regarding your website statistics via Google Analytics, select Google Analytics from the Global Features dropdown. The Google Analytics website will open in a new tab and you will be able to log in to view all available statistics for your ESP Website and/or Company Store(s).
 Français
 Español