


Customers can shop for products, place orders, and create an account on a Company Stores.
Their first step is to locate the product they would like to purchase. Then, they can configure the product, add it to the shopping cart, and check out! Customers can also create an account to make checkout quicker, as well as view their past orders. This account will create a listing in the CRM and add them to the Users section of your Websites Admin. As the website admin, you will be able to view and manage their account information.
How do Customers Order Products?
Step 1: Add the Product to the Shopping Cart
After your customer locates the item they would like to purchase, they can click on the "Add to Shopping Cart" button. Next, they'll enter the quantity you need for each available option in the box below the attribute.
Note:If they enter a quantity that is less than the minimum specified for that product, a message will appear.
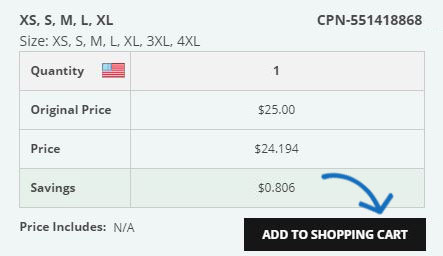
The Order Summary will appear to the right with the total order quantity and price. They'll click on the Continue button to fill in the decoration information.
The Decoration information will appear. Your customer can select an imprint method, upload a logo or enter information about the imprint location name, imprint color or decoration instructions.
Note: Only the imprint method(s) specified for the product will be available in the dropdown. If there is only one imprint method available, the dropdown will be greyed out.
At this point, your customer will have the option to click on the Checkout button to enter their information and finish the order; or, they can click on the Save To Cart link to hold this product and it's configurations in the shopping cart while they continue browsing on your site. If they continue shopping, any additional items they place on the shopping cart will need to be configured the same way.
Once customers have located, configured, and added all the products to the shopping cart, they can open the shopping cart and click on the Proceed to Checkout button.
Step 2: Checkout - My Cart
This is the first part of the checkout pages. Your customers can enter a purchase order number, date needed, and additional comments. This is also where customers can upload artwork if needed.
To upload artwork, they can check the "Option: I need to upload artwork for this order" box. An artwork section will appear with image sizes and requirements, as well as an upload button. Customers can click on the Upload button, browse their computer, select the image, and then click on Open.
If coupons are enabled on your site, customers will be able to enter a coupon code on this page.
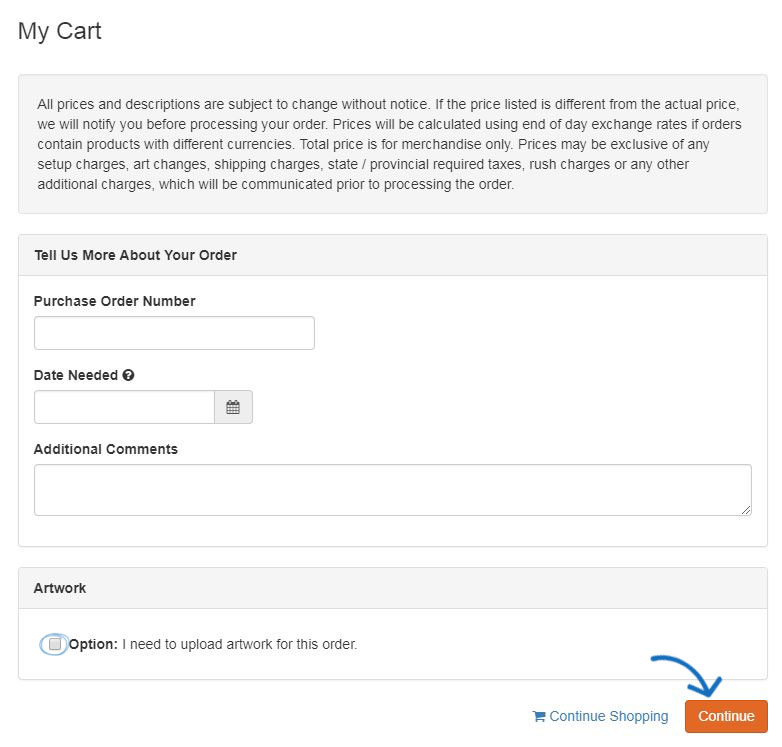
After your customers are finished entering this information, they can click on Continue to begin entering their personal information.
Step 3: Checkout - Personal Information
On this page, customers will need to enter their email and shipping information. If your customer already has an account on your site, they can click on the Log in link below the email box.
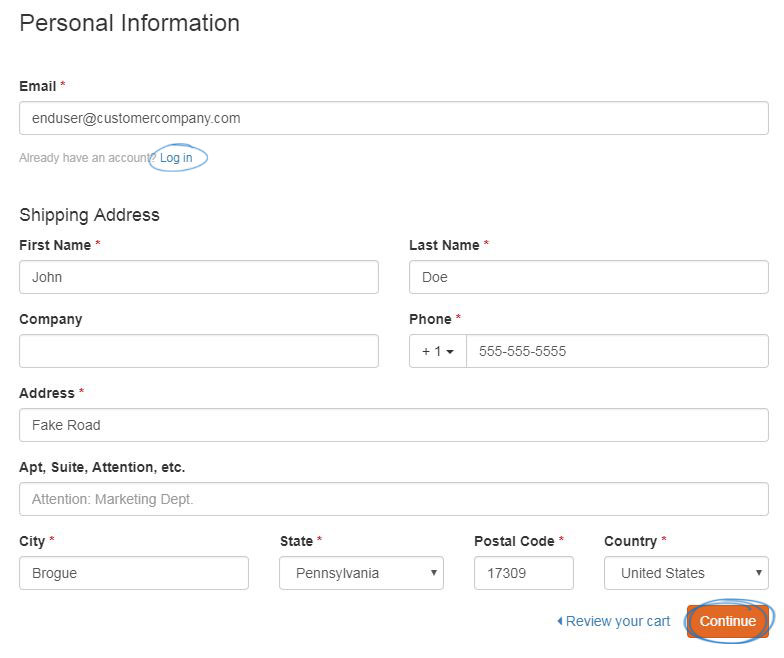
After they have finished entering the required information, they can click on Continue to specify payment information.
Step 4: Checkout - Payment Information
The options on this page will depend on your eCommerce settings. If you have selected to accept credit cards and/or electronic payments on your site, there will be a payment method section with all available payment types. Your customer will be able to select the payment type.
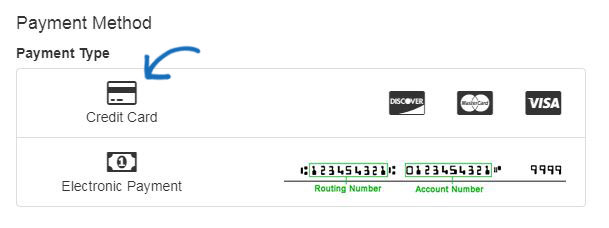
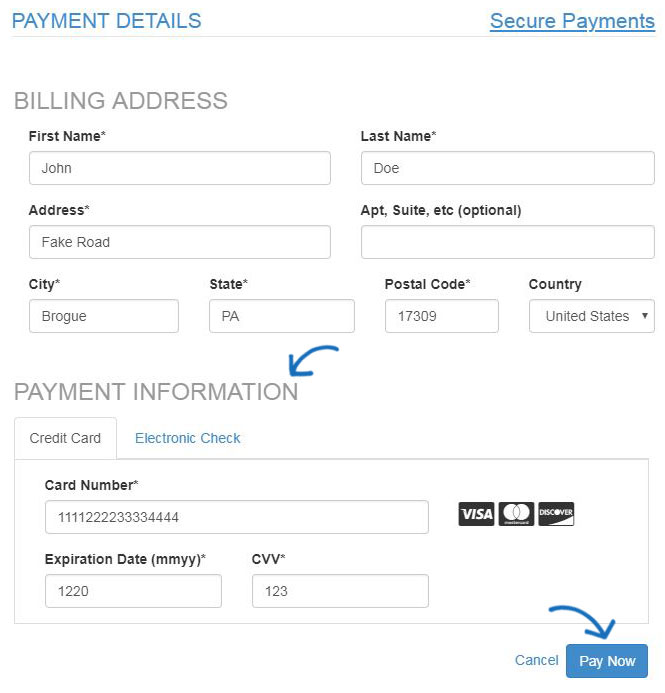
They will be prompted to enter the credit card or electronic payment information after they click on Continue.
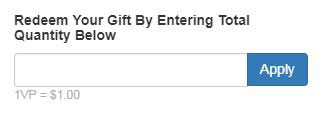
If you have established company points in the Websites Admin, your customers can redeem their points on this page. They can enter the number of points and then click on Apply.
Note: If the user account does not have a balance or points, the option to use an account balance or company points system will not be available during the checkout process.
After they have finished entering the payment information, they can click on Continue to specify review the order.
Step 5: Checkout - Review Order
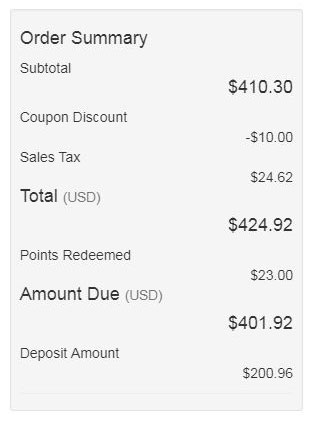
After entering all the pertinent information, the Review Order page enables your customer to review the content of the order. The image shown below displays some available checkout options, including coupon codes, sales tax, company points, and required deposit. Depending on the options you have enabled on your Company Store, the order summary may vary.
If they are satisfied, they can click on the Submit Order button. If they want to make changes, they can click on the Continue Shopping link.
What Happens After a Customer Places an Order?
Order Notification
After an order has been submitted, two emails are sent. One is a confirmation of the order request and it sent to the end user. The other is a notification that an order has been placed on your Company Store will be sent to the email address set up in the Websites Admin. For more information on managing the notification emails, please review the Check-Out and Order Management section of the eCommerce article.
The next step is for you to review and process the order in ESP Orders.
Order Retrieval
Log into SearchESP.com and then click on the Orders tab.

On the right, there are filters which include a section for ESP Websites and Company Stores. Click on the URL for the site on which the order was placed. All orders placed via that website will be displayed.
How Do Customers Create an Account on the Company Store?
Visitors to your Company Stores can create an account on the site(s). While this can be done during the checkout process, it can also be done at any time on the site homepage.
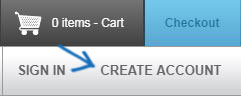
The appearance of the account creation button will vary depending on the template you have selected for your Company Store, but the account sign in and creation options are usually in the upper right hand corner of your site. Here are two examples of how these options might appear:
 |
 |
If your customer already has an account, they can enter their login information in the Sign In area. If not, they can create a new account by entering some generic information in the Create Account section. Then, they'll click on the Create Account button. New accounts will be added to your CRM and a notification will be sent to the email address specified in the Account Control Options located in the eCommerce area, under Check-Out and Order Management options.
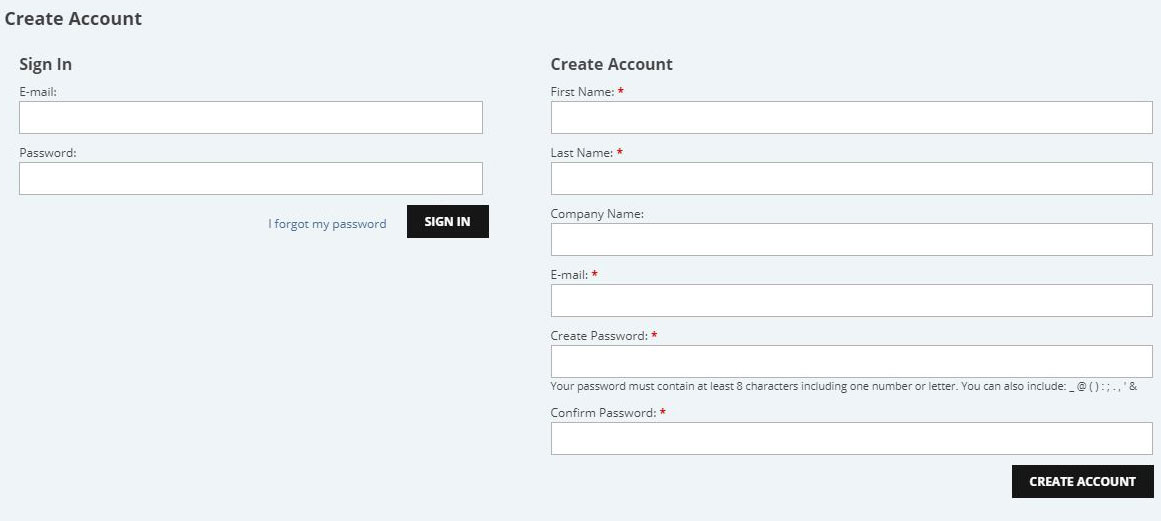
After they click on the Create Account button, their login information will be automatically moved to the Sign In area. They can then click on the Sign In button to access, edit, and manage their account information.
Account Management by End-Users (Customers)
Customer accounts on Company Stores contain four sections:
- Profile: The customer's personal information, such as name, phone number, and email address.
- Address Book: The customer's shipping/billing address(es).
- Order History: A listing of orders the customer has placed through the site.
- Web Site Access: If your customer needs to change their password on the sight.

If you customer needs to sign out of their account, they can do so in the same area (usually the upper right hand corner). Again, depending on the template you have selected, the appearance of this section will vary. Here are two examples of how the sign out option may appear on your site:
 |
 |
Can I Create and/or Manage Customer Accounts as the Website Admin?
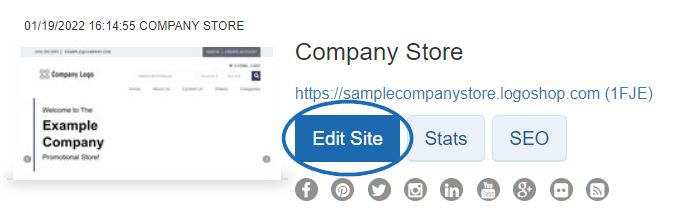
Absolutely! In the Websites Admin, locate the site for which you would like to manage the user account information. Click on Edit next to that site.
Next, expand the Manage Users section on the left.
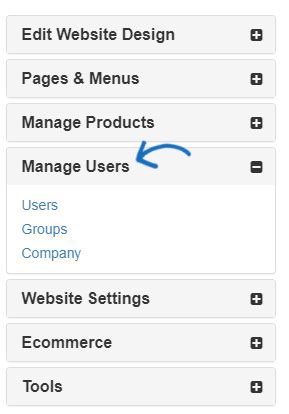
The Manage Users section enables website admins to create and monitor user accounts on company store sites. In addition, administrators can assign users to groups, oversee individual user account balances, and link users to a company in CRM.
For more information on using the options available in the Manage Users section, please review the Manage Users article.
 Français
 Español