


The Manage Users section enables website admins to create and monitor user accounts on company store sites. In addition, administrators can assign users to groups, oversee individual user account balances, and link users to a company in their CRM. There are three options in the Manage Users section:
Create User Accounts
In the Users section, admins can manage the account information for users of their company store(s). Users can be added three ways:
Users Added via the Company Store
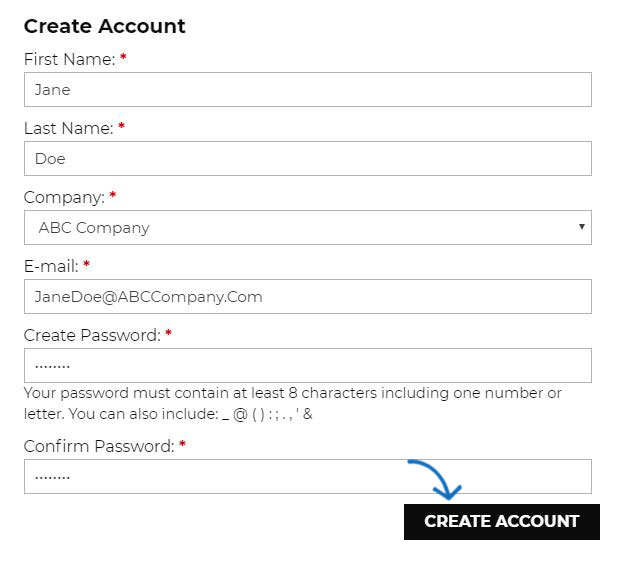
When visitors to the company store click on the Create Account option and complete the account creation process, their information will be displayed in the Users section. New users will only be able to select from company information that has been added in the Company section of the Manager Users area in the Websites Admin. As the Website Admin, you will have access to update, modify, or remove any of this information.
Add Users Individually in Websites Admin
To add a user from the Websites Admin area, click on the Add User button. Enter the required information and any additional details. This user information create a new record in your CRM, for both the user and the company. If you are adding users to an existing company, it is recommended that you import them to avoid duplication of company information in the CRM.
Note: If you are creating an account which matches an existing contact in your CRM, the application will create an independent contact listing for the company store contact account.
Import a CSV File
To import a new user account list, click on the Import User button. If you are looking to update the information for existing user accounts, it is important to export the accounts first to avoid duplication.
Please keep in mind, the file must include a first name, last name, and email address in order to be successfully imported.
Then, use the Company dropdown to select the company to which the list should be imported. To ensure the best import outcome, down the sample CSV template. Next, input your information using the CSV file. Please pay attention to the column formatting and format the cells if needed. Save the file in a .CSV format when you are finished.
Next, go to the Websites Admin and click on the Choose File button. Browse your computer, location the CSV file, and upload it. Then, click on the Next button.
To ensure proper importing, you will need to map the fields to the appropriate fields. If the column header from the CSV file matches with a field, it will be displayed with a green background. The fields with matches will still provide you with the option of choosing:
- Entity: Map the information for the column to a main field.
- Resource: Map the information for a column to a secondary field.
- Skip: Do not import the information in this column to any field.

Some fields may have a grey background and show Suggestions. This will occur when the column header could be mapped to various fields and more information is needed to ensure proper importing. Phone number and email are two common columns where Suggestions are provided because there are many different types of phone numbers and emails. The best matched fields will be displayed and you can click on the option which best applied to the information. The Entity, Resource, and Skip options are also available for these fields.
In the example below, suggestions are used to map the Phone and Email fields.
When you are finished mapping the fields, click on the Next button at the bottom. You will receive an email that the contacts have been successfully imported.
Manage User Account Information
Edit an Individual User's Account
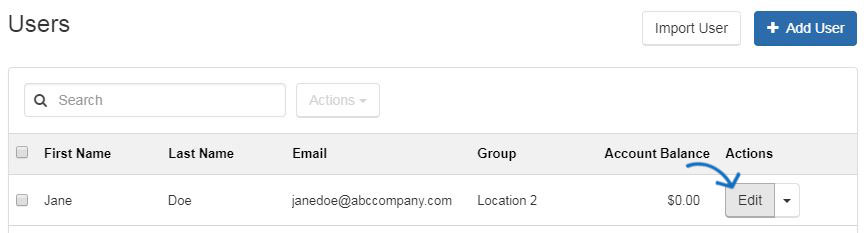
In the Users area of the Manage Users section, all user accounts will be available for review and modification. Click on the Edit Option under Actions to open the user account.
There are three tabs in the Edit User area:
- User Details
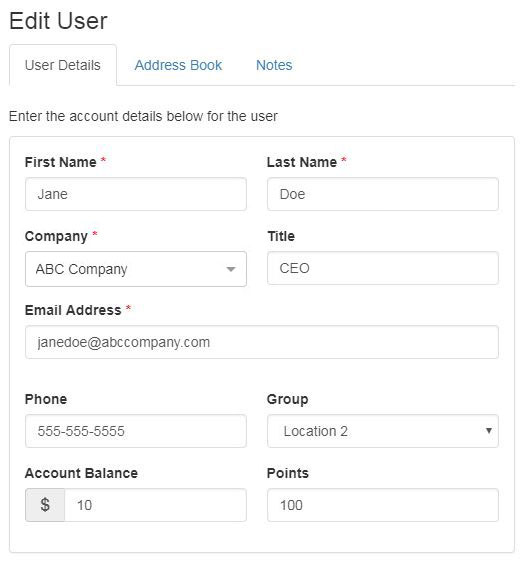
In the User Details tab, website admins can update or modify any general information for the user, such as:
- First Name
- Last Name
- Company Name
- Title
- Email Address
- Phone
In this area, you can also use the Group dropdown to assign the user to a group, as well as manage their account balance. When you are finished making changes to the information in any tab, click on the Save button at the bottom.
The account balance information will appear during the checkout process. The user will be able to use their balance when they are making a purchase on the company store, but their balance information will not be available in the customer facing user account, only in the administration account. This means that as the website admin, you will be able to view and manage their account information, but they will not have access to this information. Account balances are shown using a monetary amount only if company points are not enabled on the site. If the company store does have a points system enabled, the amount of points available will work in conjunction with the exchange rate established in the Check-Out and Order Management area of the eCommerce section. In the example below, the exchange rate is 10 points = $1, so the user has 100 points equaling $10 available in their user account.
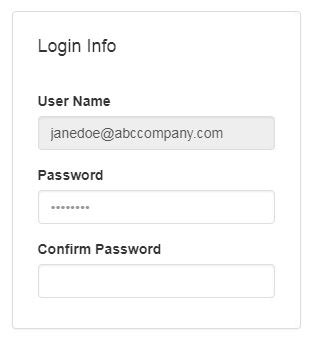
The User Details section is also where you can view and manage their user log in information. While you are not able to change their User Name, you are able to reset their password by entering a new one in the Password box and then typing the same information in the Confirm Password box. Click Save when you are finished.
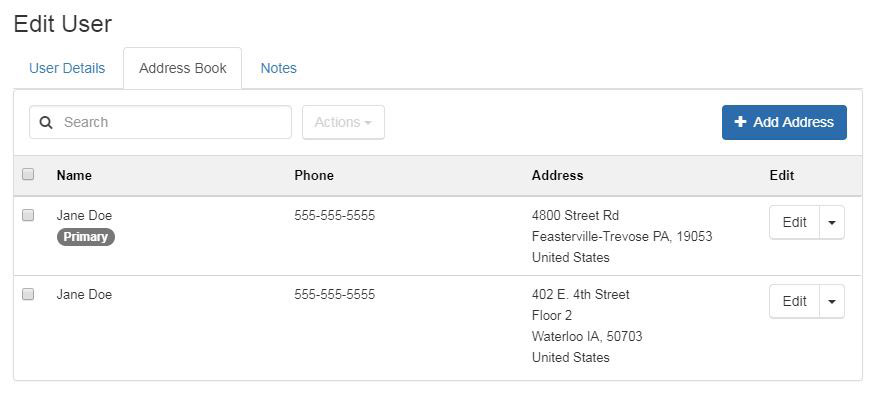
- Address Book
The Address Book tab enables you to manage the physical address information for a user. You can add multiple addresses for a single user, as well as select a primary address.
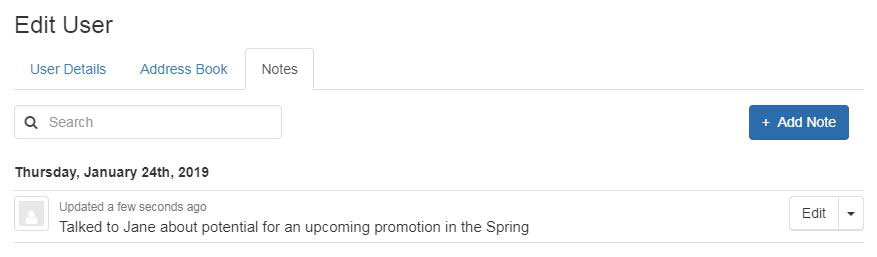
- Notes
The Notes section enables you to enter any all notes for the user. It will also contain a log all updates made to the user's account.
Update Information for Multiple Users
To update any account information for multiple users, the most effective way to do this is to export the customer accounts as a .CSV file, edit the file, and then use the import option to update the information. For example, to update all your users' account balances without going into each individual user account, you can update this information using the export and import option.
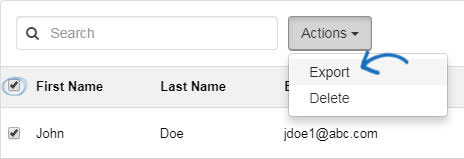
To do this, go to the Users section. You can mark users using the available checkbox to the left of user's first name or click on the checkbox at the top to select all. Then, click on the Actions dropdown next to the search bar and select Export.
A .CSV file will be downloaded to your computer. Open the file. Enter or update information in any of the available fields, but do not change the user ID information in Column A. This information is generated by ESP and is a unique identifier for that account for both the user area of the Websites Admin and the CRM. Removing this field or changing the information in this field will result in a new user account being created instead of updating the existing one.

After updating the information in the file, save the file in a .CSV format on your computer. You may see a warning like the one shown below regarding saving in a .CSV format, click on the Yes button.

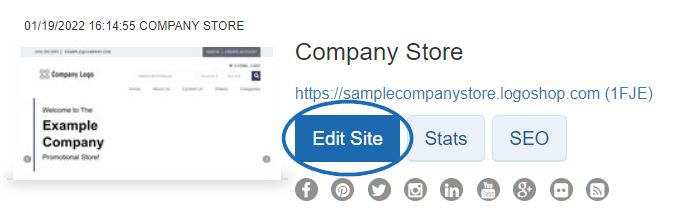
Then, return to the Websites Admin area and click on the Edit Site button for the Company Store for which you would like to update the user account information.
Expand the Manage Users section and select Users. Click on the Import User button. Browse your computer, location the CSV file, and upload it. Then, click on the Next button.
To ensure proper importing, you will need to map the fields to the appropriate fields. If the column header from the CSV file matches with a field, it will be displayed with a green background. The fields with matches will still provide you with the option of choosing:
- Entity: Map the information for the column to a main field.
- Resource: Map the information for a column to a secondary field.
- Skip: Do not import the information in this column to any field.
Some fields may have a grey background and show Suggestions. This will occur when the column header could be mapped to various fields and more information is needed to ensure proper importing. Phone number and email are two common columns where Suggestions are provided because there are many different types of phone numbers and emails. The best matched fields will be displayed and you can click on the option which best applied to the information. The Entity, Resource, and Skip options are also available for these fields.
In the example below, suggestions are used to map the Phone and Email fields.
When you are finished mapping the fields, click on the Next button at the bottom. You will receive an email that the contacts have been successfully imported and the user account will be updated. You may need to refresh your browser to see the updates.
Groups
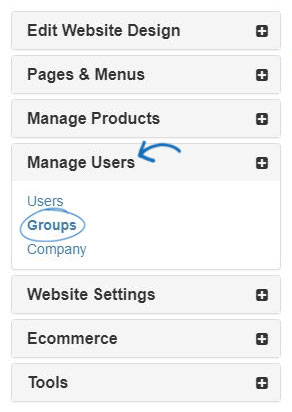
Groups enable you to create sets of users on a single site. Click on Groups from the Manage Users section.
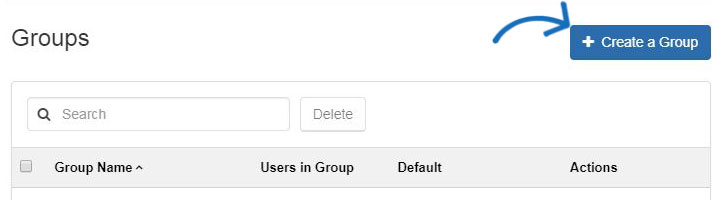
Then, click on the Create a Group button.
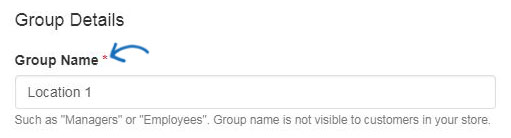
Enter a name for the group, such as "Managers", "Employees", or "Location". The groups are only available within the Websites Admin area.
The next step is to select the level of access for the group. As the administrator, you can enable the visibility for each group. If you would like the group to view all the product collections available on the company store, check the appropriate checkbox in the Group Access section. In the example below, only the two apparel product collections should be available to the group. Uncheck the the "Users in this group can see products in all collections" box. Next, uncheck the Collections which should not be available for the group.
Use the "All new users should be added to this group" checkbox to determine all newly created accounts on the company store should be automatically added to this group.

Click on Save when you are finished.
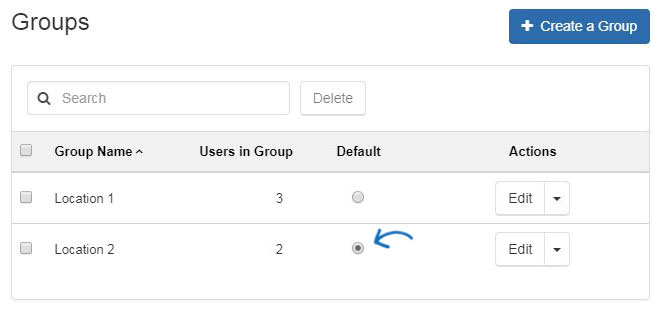
There is no limit to the amount of groups you can create on your site, but only one can be the default for new accounts.
Company
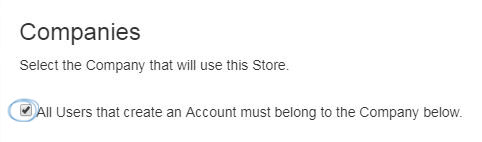
The Company area of the Manage Users section enables you to select the companies which will be available on the company store. Check the "All Users that create an Account must belong to the Company below" box to allow new users to select the company (or from a dropdown if multiple companies have been added) in this section.
When users create an account on a company store, any companies in this section will be available for selection. If there is only one company, the field will be automatically filled in during the account creation process.

The Company dropdown is linked directly with the CRM, meaning you are able to select existing companies to use on this site. To remove a company from the company store, hover on the listing and then click on the "X".
Note: If you have removed a company that has users, you will be prompted to move the users into a new company prior to completion of the removal. For example, if you would like to delete Company A, but have three users, you will be prompted to move those users to Company B before Company A can be removed from the store. This will also reassign the user accounts within your CRM.
 Français
 Español