


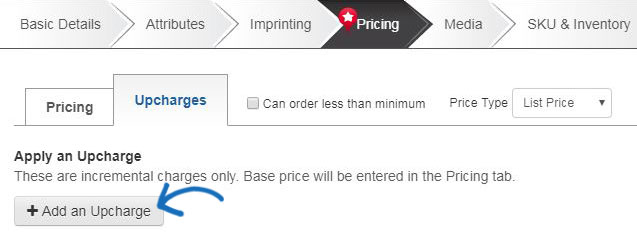
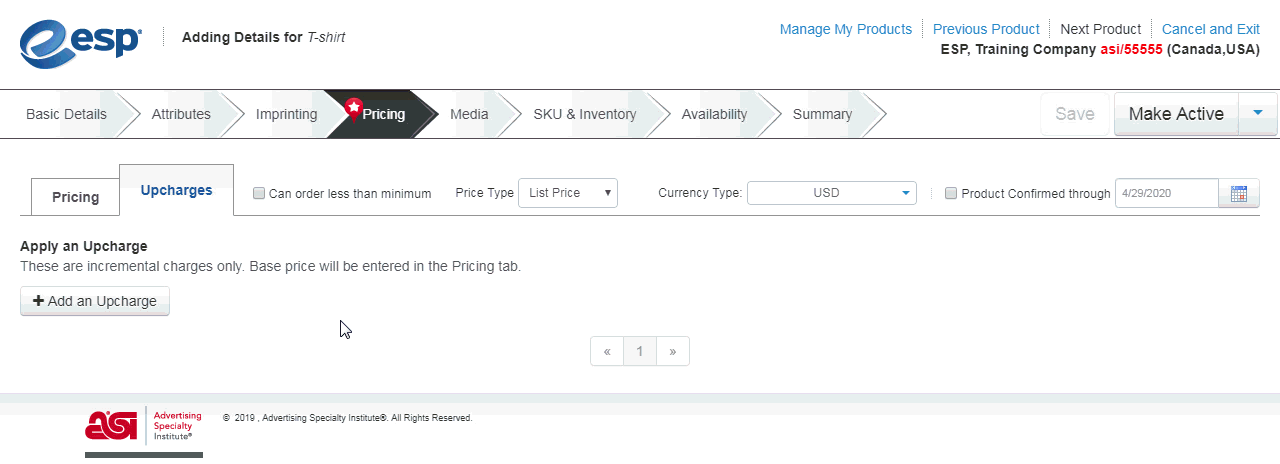
An upcharge is an incremental charge, meaning an additional charge added to the base price of an item, for example, a set-up charge for imprinting.
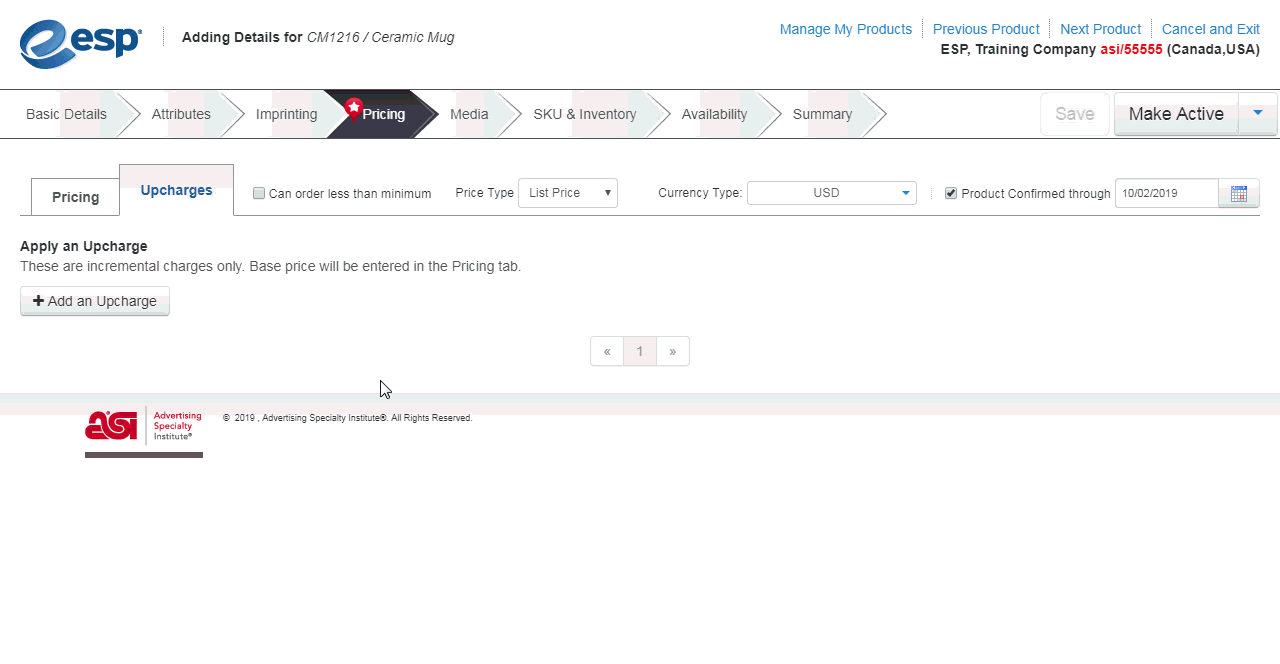
To add an upcharge, click on the Upcharges tab and then click the Add an Upcharge button.
You can set up as many additional charges as you need, but keep in mind that only information entered in the Basic Detail, Attributes and Imprinting tabs will be available in the Upcharge Set-up box. For example, if no information has been entered in the Shape field, that field will not be an option in the Upcharge Set-up window.
Note: If you do not have any options available in the Upcharge Set-up box, you will need to go back into the Basic Details, Attributes, or Imprinting tabs to set up the product information.
Create a Price Grid based on a Single Criterion
If you need to create one upcharge, take the following steps:
- Click on the Add an Upcharge button.
- Select the attribute for which you would like to add an upcharge.
- Click on the Next Step button.
- In the Upcharge Set-up: 1st Upcharge window, use the checkbox(es) to select the values for which you would like to add an upcharge.
- Click on the Apply button.
This type of upcharge is commonly used to establish a set-up charge. In the example shown below, a price grid is set up for the imprint method, which can be configured to be a set-up charge.
Another example of a single upcharge would be when a product has multiple product options which are all the same upcharge. if a mug has a product option for different shaped handles. (C-Handle, D-Handle or Ear Handle). Each handle choice is the same upcharge price. Create the price grid on the single criterion (Product Option) and add all handle shape choices to the same price grid.
Create Multiple Price Grids based on a Single Option
Price Grid for Each Option
If you need to create multiple upcharges for a single option, take the following steps:
- Click on the Add an Upcharge button.
- Select the attribute for which you would like to add an upcharge.
- Click on the Next Step button.
- In the Upcharge Set-up: 1st Upcharge window, check the box to "Create individual grids for each value" and then use the checkbox(es) to select the values for which you would like to add an upcharge.
- Click on the Apply button.
In the example below, there are three handle options for a ceramic mug and each is an additional charge, so three individual upcharge price grids are needed. The handle choices are different prices. Create the price grid on the single criterion of Product Option. Add a price grid for each of the different prices. If any of the values are the same price, they can be grouped together on the same price grid.
In the example below, by checking the "Create individual grids for each value" box enables each selected option to have its own grid.

Price Grids for Combined Option
If you need to create multiple upcharges for a single attribute using combined options, take the following steps:
- Click on the Add an Upcharge button.
- Select the attribute for which you would like to add an upcharge.
- Click on the Next Step button.
- In the Upcharge Set-up: 1st Upcharge window, check the options for which you would like to add an upcharge.
- Click on the Apply and Add button.
- Select the option(s) to create another upcharge price grid.
- Click on the Apply button if you are finished or use the Apply and Add button to continue establishing upcharge price grids.
If two or more attributes should share a price grid, check those options, and then use the Apply and Add button to create a single price grid for those options. This will create a separate grid for additional attributes. This will enable you to display multiple upcharge price grids for a single attribute while enabling you to combine options.
In the example of the mug with three handle options, two options share an upcharge and one is a separate upcharge. This means two different upcharge price grids are needed for the same option.
Create Multiple Upcharge Price Grids for Multiple Options
If you need to create upcharges based on two attributes, for example a mug has a product option of different handle shapes, but the upcharge price is determined by both the shape and color of the mug. To create price grids on two criteria, the Handle Shape Product Option and the Color:
- Click on the Add an Upcharge button.
- Select both the attributes for which you would like to add an upcharge.
- Click on the Next Step button.
- In the Upcharge Set-up: 1st Upcharge window, check the options for which you would like to add an upcharge.
- Click on the Apply button if you are finished or use the Apply and Add button to continue selecting options.
In the example below, there is one upcharge for blue mugs with any of the handle options, another for the red and yellow mugs with a C-Handle or D-Handle, and a third for red and yellow mugs with an Ear Handle.
Add Another Upcharge
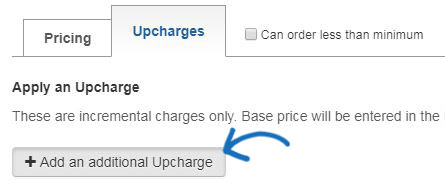
If you need to create upcharges for multiple options, follow the same steps as for a single option, then click on the Add An Additional Upcharge button to create more upcharges for different options.
Once you have created the upcharge price grid(s), name each grid, configure it, and enter the pricing information.
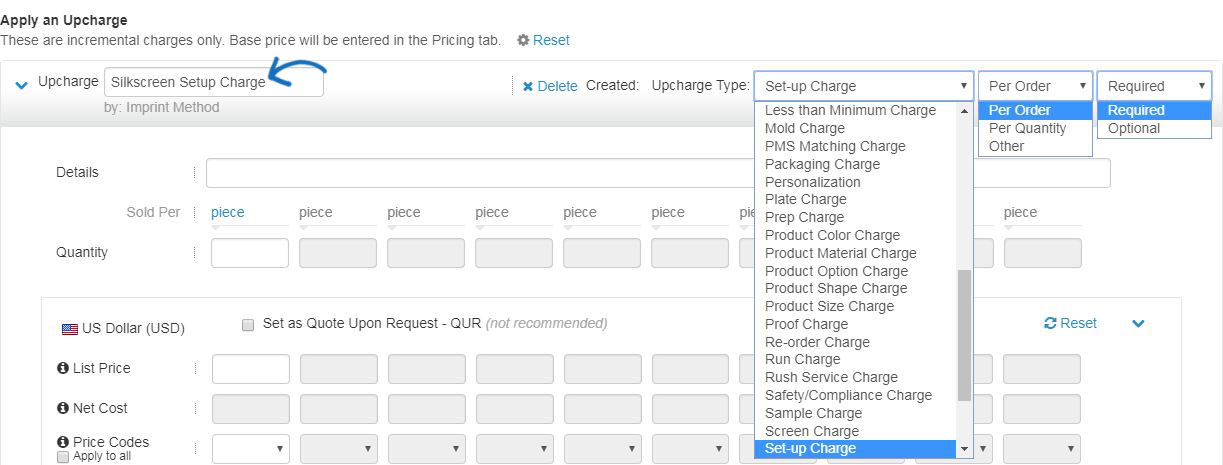
A Price grid will display (click the arrow to open/collapse the price grid) with the name of the values pre-populated in the Upcharge Name box. Change the name to reflect the upcharge. For example, when creating a set-up charge for silkscreen, the Upcharge Name box will automatically display "Silkscreen", but the field can be edited.
Additionally, there are three dropdowns menus to configure each upcharge price grid:
- First dropdown: Select the type of upcharge from the dropdown, such as "Set-up Charge" or "Run Charge".
- Second dropdown: Select how the upcharge applies to the product during the order process.
- If it is a one time charge for the entire order, select "Per Order" and the charge will only be applied once. An example of a one time charge would be a set-up charge.
- If the charge should be applied to each quantities select "Per Quantity" and the charge will be multipled by the quantity in the order. An example of a per quantity charge would be a run charge.
- Third dropdown: Select whether the upcharge is required during the order process.
- If the charge is required for ordering, select "Required".
- If the charge is not required for ordering, select "Optional".
Now, you are ready to enter the quantities and pricing for the upcharge(s). Enter the pricing information in the appropriate box(es). There are two basic rules:
- Quantities must go from lowest to highest.
- List Prices and Net Costs must go from highest to lowest.

Use the Details box at the bottom of the price grid to include any additional information about the upcharge.