


Preferred Supplier and Notes Admin
The Preferred Suppliers and Notes Admin area enables you to create and apply Preferred Supplier Lists in ESP Web for your entire company. Please note, in order to be a Preferred Supplier Administrator, you will need a specific license. To obtain this license, you will need the primary contact at your organization contact ASI Product Support.
To access the Preferred Supplier Admin:
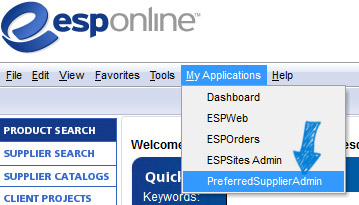
- ESP Online
If you are using ESP Online, go to the My Applications and click on Preferred Supplier Admin from the dropdown menu.
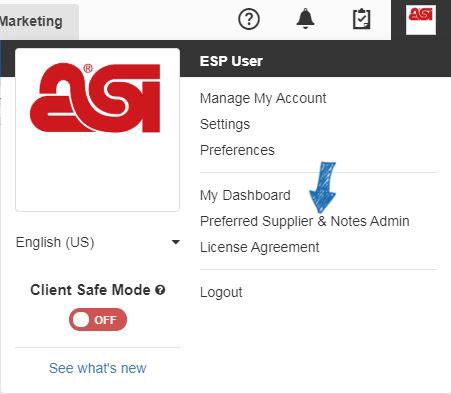
- ESP Web
If you are using ESP Web, click on your avatar and then select Preferred Supplier & Notes Admin option.
Is there a training for the Preferred Supplier Admin?
Yes, there is a recorded webinar available 24/7:
This will bring you into the List Manager area where you are able to:
- Assign Users
- Create a New List
- Establish Preferred Pricing/Exceptions
- Import a Preferred Supplier List
- Edit an Existing List
- Add and Manage Notes
- Publish Preferred Suppliers to ESP Websites
- View and Edit Preferred Suppliers Settings
Assigning Users
To add users, click on the “0 Users” link. All of the users in your company will be available in the list.
You can search for users using the search box and also can sort by ASI number, company name, user name and assigned status. If you have a large number of users to assign, you can show up to 100 users per page.
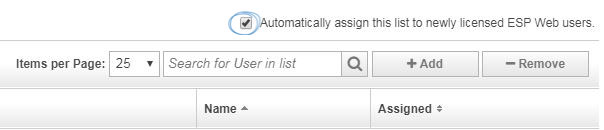
You are able to add users individually by using the "+Add" button at the end of the user listing. Furthermore, you are also able to mark users using the checkbox and then click on the "+Add" button above the listings to select specific users.
To apply this list to any newly licensed ESP user in your company, click on the checkbox labeled "Automatically assign this list to all users in my company". This will ensure your future ESP users get the list automatically.
Create a New List
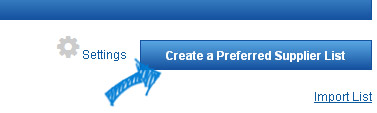
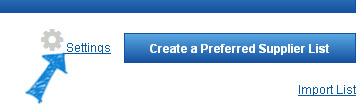
In the List Manager area, click on the Create a Preferred Supplier List button.
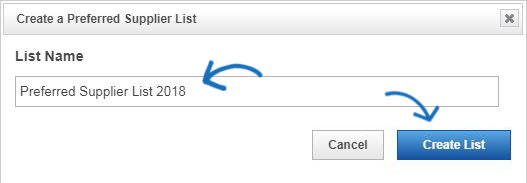
A small window will open where you can name the list. After you have finished entering the list name, then click on the Create List button.
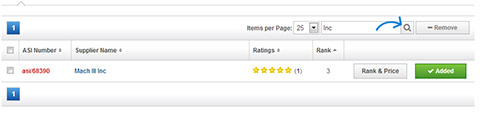
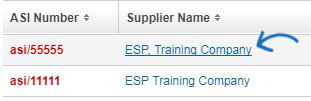
After creating your list, you can search for suppliers by ASI number, Supplier name or Linename. Use Add Supplier box to enter your search and then click on magnifying glass icon. All available matches will be displayed below the search box.
Click on the Add button for the supplier you would like to include in your list.
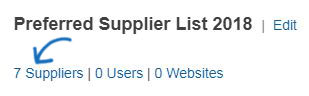
Repeat this process to add as many suppliers as you like. When you are finished adding suppliers, click on the # Suppliers link.
After you have finished adding suppliers to your list, you are ready to rank them.
Click on the Rank & Price button for the supplier you would like to rank.
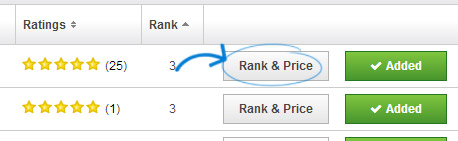
When ranking suppliers, you are able to use a scale of 1-5 (A rating of 1 is the highest level and 5 is the lowest). Each level can also have its own name. For example, Rank 1 can be set to display as Platinum or Best on search results. You can change the rank name through the Settings link.
After selecting a rank, click on Save. If you receive preferred pricings from the supplier, you are able to establish the price adjustments, as well as exceptions in this window.
Establish Preferred Pricing/Exceptions
If the supplier has agreed to preferred pricing, such as EQP or NQP, you are able to reflect these terms on price grids throughout ESP.
Open the Preferred Supplier List and then click on the Rank & Price button for the supplier. In the Preferred Pricing window, Use the pricing calculator options to set the price adjustments. You can make changes to Net Cost or List Price using the dropdowns.
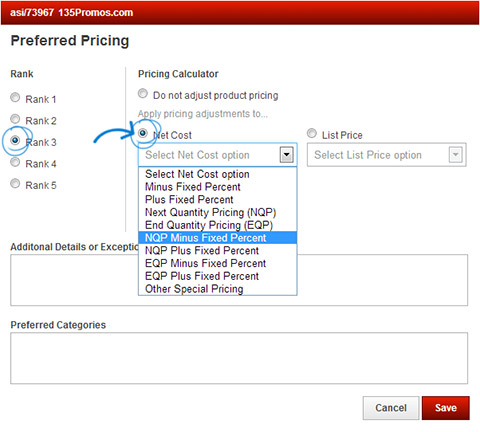
If you need to create exceptions to the preferred pricing, you can use the Price Exceptions dropdown. A price exception is when a supplier offers special pricing with the exception of products in a specific category, brand, quantity, or quantity column. If an exception is applied to a quantity or quantity column, the preferred pricing will not be applied to any quantities or columns below the designated threhold. This means that if you select column 3 as the pricing exception, all pricing in column 1, 2, and 3 will be excluded from preferred pricing.
In the example below, the preferred pricing reflects net cost EQP on all products, except for backpacks and bags.
There are also two boxes in this window:
- Additional Details or Exceptions: Include more detailed information about the preferred pricing agreement or exceptions.
- Preferred Category Note: Enter a note about this supplier.
After adding and ranking your desired suppliers, click on the Save button. You will see a green bar confirming that the list has been saved.
Importing a Preferred Supplier List
If you have a .csv file of preferred suppliers, it can also be imported. To import a list, click on Import List link.
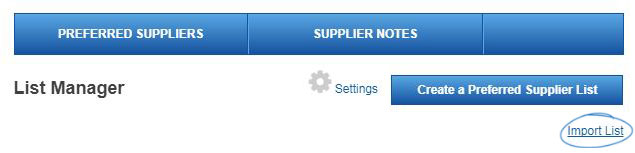
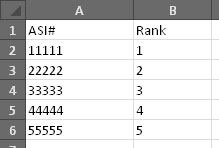
In the Import and Create a Preferred Supplier List box, click on the Import Excel File button and browse your computer for the appropriate file. Then, type the name for your list in the List Name box. Lastly, click on the Create List button.
Note: Uploaded files must be in a .csv format and formatted properly. Use the “Click here to download template” link to use a template and ensure a smooth import.
After your list has been imported, you are ready to adjust ranks and preferred pricing if necessary.
>Edit an Existing List
After creating a list, it may need to be edited or updated. To edit a list, you first need to choose your list from the available listings.
Change List Name
To change the list name, click on the name of the list. The list will open and there will be an Edit link to the right of the list name.
Just click on the Edit link, type the updated list name in the box and then click on the Save button.
Add Suppliers to an Existing List
In the Preferred Suppliers area, click on the name of the list. Then, use the Add Supplier box to search by ASI Number, Supplier name or Linename. After entering your search terms, click on the magnifying glass icon.

In the results area, click on the “Add” button. The Supplier will then be added to your existing list.
Remove Suppliers from a List
If you need to remove a supplier from your list, hover on the “Added” button. It will change to read “Remove”. Just click on the Remove button.

You are also able to remove multiple suppliers at once by selecting them and then clicking on the Remove button.
Search for Suppliers within the List
You can search for suppliers within the list by typing their name in the “Search for Supplier” box and clicking on the magnifying glass icon. Only suppliers that match your search terms will be displayed.
Add and Manage Notes
In the List Manager area, click on the Supplier Notes button.

Click on the ASI Number of the supplier or the supplier’s name. In this area, you can edit or remove previously entered company notes, as well as delete existing shared notes.
There are three types of notes:
- Company Notes: Entered by your company administrator and will be seen by all users within your company. These notes will always be displayed at the top of the “Notes” tab.
- Shared Notes: Entered by any user within your company and will be seen by all users.
- My Notes: Entered by you and will only be seen by you.
Adding Individual Notes
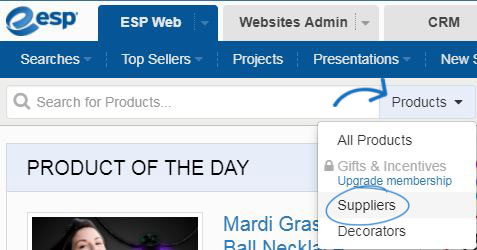
The first step to adding individual notes for suppliers in your ESP is to locate the supplier. You can use the "Products" dropdown to switch from a product search to the Supplier Quick Search. To access the Supplier Advanced Search area, click on Searches and select "Find a Supplier" from the dropdown.
Click on the Add a Note button in the Supplier Summary section.
In the Add Notes section, type your note. You have two options at below the Add Notes box. Personal notes are notes that will only be seen in your ESP. Shared notes will be available to all users of your company, but not to suppliers or users outside your company.
You are also able to click on the supplier's name to access the Supplier Detail View. Within the Supplier Detail, click on the Notes tab to view shared notes, manage personal notes and/or delete personal notes.
Publish Preferred Suppliers to ESP Websites
The Websites link enables you to select if you would like to display this preferred suppliers list on your ESP Website or a Company Store.
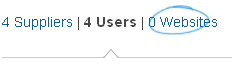
To show your preferred suppliers on any ESP Website or Company Store within your company, you can use the "+Add" button to add sites one at a time or use the checkbox to select sites, then click on the "+Add" button above the listings.

View and Edit Preferred Suppliers Settings
To access the settings in the Preferred Suppliers Admin, click on the Settings link from the List Manager.
In the Settings area, you will be able to view your existing preferences such as the default list ranks for ESP Web and ESP Online, as well as for ESP Websites. You can also view the list conflict and notes settings.
In this area, you are able to manage the default rank, rank names, list conflict settings and notes settings. To begin updating your settings, click on the Edit button.
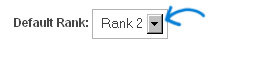
After clicking on Edit, all the available fields will open in an editable state. You can change the default rank by using the dropdown. The default rank is the rank level that suppliers will automatically be assigned when they are added to a new list.
You can modify the names of the rankings to reflect the levels that would best suit your company (Platinum, Gold, Silver). These levels can be copied so that they will display on your ESP Website, or you can create a different set of rankings which may be more client-friendly. For example, your clients may not understand what Platinum means, so instead, you can use Customer Favorite or Best Seller.
Click on the Save button at the bottom when you are finished.
List Conflict & Notes Settings
Occasionally, a user may be assigned more than one preferred supplier list. In these cases, if one list has a supplier rank of 2 and the other has the same supplier ranked as a 1, you are also able to specify which ranking you would like to refer to, the higher rank or the lower one.
To set up this option, just click the radio button next to your choice (High to Low or Low to High).
You can also select whether you would like to enable individual users the ability to share notes. Shared notes are entered by users (administrators and standard) and available for all users in the company. By checking the “Do not allow any user in my company to add a Shared Note” box, notes for all users in the company will be managed solely by administrators.
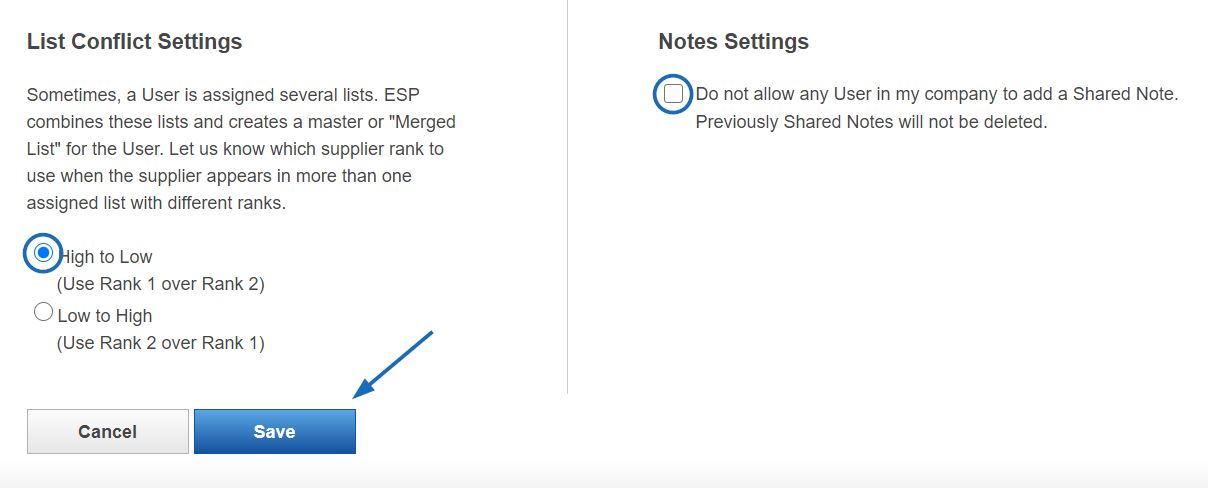
Click on the Save button when you are finished.
 Français