


To create a virtual sample on a virtual sample enabled product in ESP Online, the first step is to locate the item.
After locating the item for which you would like to create a virtual sample, go to the Product Detail view and click on the Create Virtual Sample link below the product image.
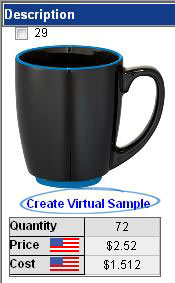
Note: If the Create Virtual Sample link is not available, the product is not virtual sample enabled.
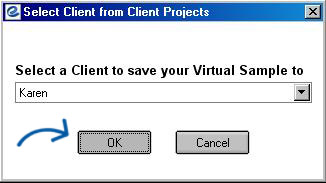
The next step is to select the client for whom you are creating this virtual sample. Use the dropdown to choose your client, and then click on OK. If you do not have a client folder, you are able to select "New" and then create a folder on the fly.
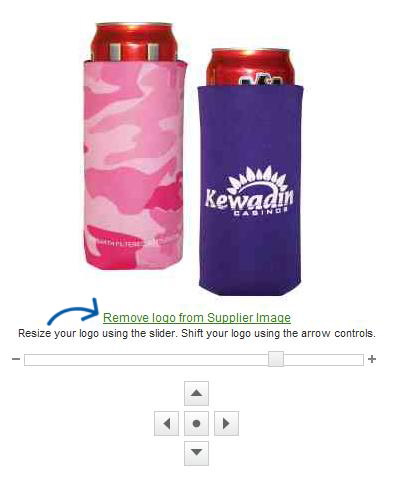
The Virtual Samples window will open. You can use the Remove logo from Supplier Image link to remove the logo that has been automatically applied by the supplier.
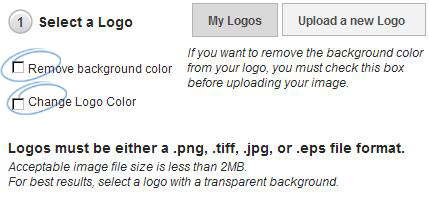
You can add a logo to the product, select an imprint method, manipulate the location of the logo, or add text to the product if there is not a logo.
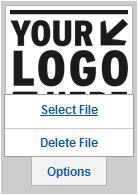
To use an image from the Media Manager, use the "My Logos" link.
The Media Manager window opens with images already loaded into the system. Hover on an image and the Options button will appear. Hover on the Options button and then click on the Select File link.
If the logo you would like to use has not been uploaded, you can upload into the Media Manager by clicking on the Upload Media button or you can use the Upload a new Logo button in the Virtual Sample window. Browse to the file’s location on the computer, select it and then click on Open. The logo appears on the product.
You can resize the logo by moving the slider to the left or right. You can also use the arrows to move the location of the logo.
Note: The image appears in the suggested imprint area and by you may lose parts of the image if you move it outside the virtual boundary. The button with the dot will re-center your logo within the virtual boundaries.
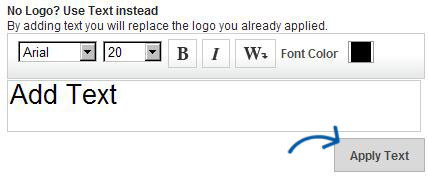
If you don’t have a logo or image, you can use the text field to add a company name or other identifier. The system allows you to select a font type, size, style and color. Click Apply to add the text and it will appear on the product.
Click on the Create Blank Image button to remove any applied logos.
You are also able to change the imprint method. On the right hand side, there is a dropdown menu with all of the available imprint methods for the product.
To select an imprint method, click the dropdown arrow to display a list of printing modes such as full color, embossed, embroidered, etched, etc.
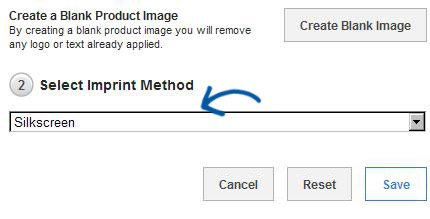
Click Save when you are finished. Your Virtual Sample will be saved into the Client Projects area, under the customer you selected when you began.
 Français
 Español