


The Edit Websites Design area enables you to manage the look and feel of your Company Store. After logging into the ESP Website Admin, locate your site and then click on the Edit button.
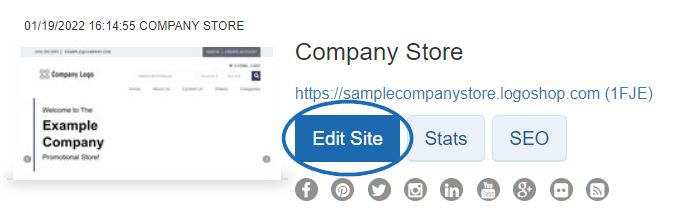
Click on the plus button to expand Edit Website Design menu and click on the option you would like to edit. When you are finished making changes to the desired section, click on the Save button in that area and then click the Make Changes Live link.
What would you like to update?
Templates & Colors
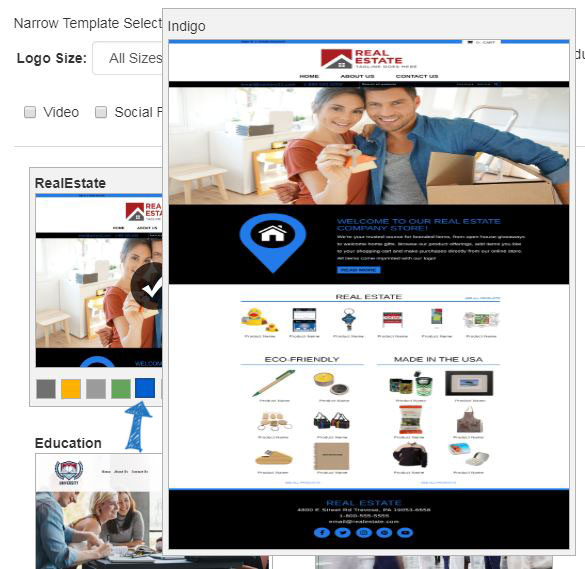
In the Templates and Colors section, you can browse through the library of templates, or you can filter the results using the Narrow Template Selection options.
Use the dropdown in the Narrow Template Selection section to select the size of the logo you would like to have: All Sizes, Traditional or Large. Then, choose the template type: All or Industry. Industry template ensure that the content of your site, as well as the look and feel, relate directly to the trade you selected, such as Financial or Healthcare. Next, check the box next to video, social feed, Google map and left navigation for each feature you would like to have included on your site. There are also six templates available for specialized markets. These templates include:
- Real Estate
- Employee Appreciation
- Fundraising and Awareness
- Education
- Healthcare
- Finance

Each template has preset color schemes available. To preview the template in any of the color schemes, hover over the color swatch. The template you have selected is indicated by a large check mark. There will be a square around the color you have selected.
To make your new template and color scheme live, click on the Make Changes Live link. You will receive a notification that your changes have been successfully published.
My Site Logo
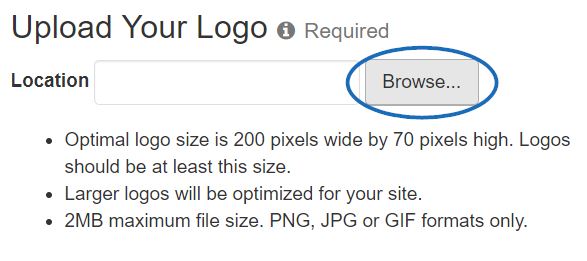
In the My Site Logo area, you can upload a new logo for your site. Click on the Browse button in the Upload Your Logo section.
The Media Manager will open. To select an image, hover on the image and then click on the "Select File" button.
Note: If the image you would like to use is not yet in the Media Manger, click on the "Upload Files" button and browse your computer for an image.

You will see a preview of your image in the Logo Preview window.
If you do not have a company logo, type your company name into the last field in this section. Just like with an image, a preview of your typeset logo will appear in the Logo Preview window.
Click Save when you are finished.

After saving your logo, you will see a pop-up notification that your changes have been saved.
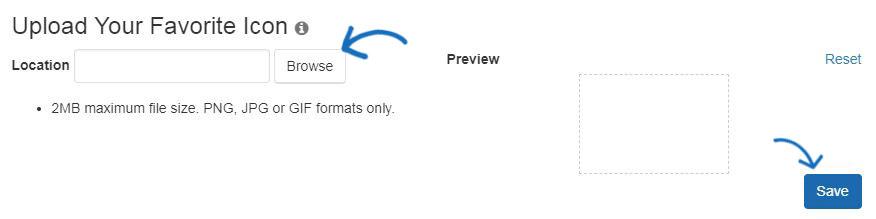
The Upload Your Favorite Icon area enables you add favorite icon, which is a small image that appears the tab.
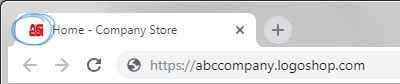
Click on the browse button to locate the image from your computer. After locating the image, select it and then click on the Open button. The image will display in the Preview Box. Click on Save when you are finished, or click on the Reset link to clear the image.
To make the logo live on your site, click on the Publish button in this window. If you are not ready to make the logo live, click on the Not Now button. You will be able to publish the logo at any time using the Make Changes Live link in the upper right area.
Font
In the Font section, use the dropdown to select the font you would like to use on your site.
Click Save when you are finished.
After saving your font selection, you will see a pop-up notification that your changes have been saved. To make the font active on your site, click on the Publish button in this window. If you are not ready to make the font live, click on the Not Now button. You will be able to make your new font selection active at any time using the Make Changes Live link in the upper right area.
 Français
 Español