


To update the category tiles, the first step is to select the tiles you would like to use from the Category Tiles Downloads. Click on the "Get Image URL" button and copy the URL in the pop-up window. If you are using Windows, you can right click and select Copy or hold the Control key and tap C on your keyboard. If you are using a Mac, use Command + C. This will save the URL to your computer's clipboard.
After copying the URL, go to the ESP Websites Admin and click on the Websites Admin tab.
Locate the site you would like to update and click on the Edit Site button.

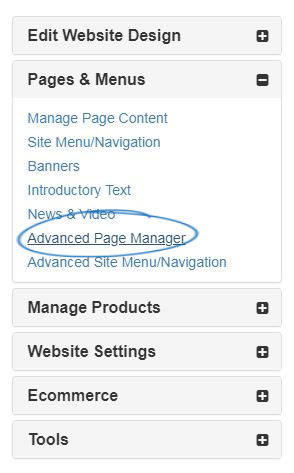
From the options on the left, open the Pages & Menus section and click on the Advanced Page Manager option.
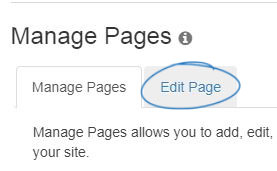
A notifcation will appear informing you that changes made in this section can impact the features and functionality of your site. Click on Ok. Next, in the Manage Pages section, click on the Edit Page tab.
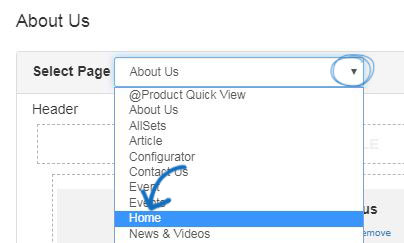
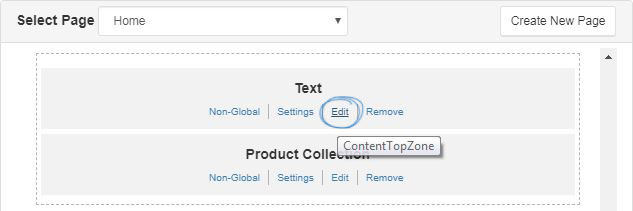
Use the Select Page dropdown to choose Home.
The category tiles are housed in a Text module. Depending on the template you are using, there may be multiple text modules on the homepage. To locate the one you need to update, click on Edit for each text module until you find the image you would like to update.
Make sure you are seeing the image(s) from your site that you wish to replace. Right-click and select Properties. Delete the numbers in the Width and Height fields. Then, replace the Image Src link with the URL you had copied to your clipboard. The image will be updated. Go to the Properties box on the right and click the Save button. Repeat this process as many times as needed to update all the tiles.
Can I Upload a Category Tile from my Computer?
If you would like to upload your own category tile image, please be sure that your image is the correct size for your selected website template to ensure the best result.
The Media Manager window will open, displaying all available images from the Media Library. Use the upload button to browse your computer and select an image. Then, click on the Upload button. Once the image has been added to the Media Manager, right click on it and select "Copy Image Address". After copying the image address, locate the banner you would like to replace. Click on it and then select Properties (pencil icon) from the toolbar. Replace the link in the Source box with the URL for the banner image you copied. The "Alt Text" box enables you to enter a basic text description of image for ADA compliance. It is optional, but recommended. Then, click on OK. The image will be updated. Go to the Properties box on the right and click the Save button.
Lastly, click on the Make Changes Live option. The updated banner should appear on the website within 10 minutes.

 Français
 Español