


Client Projects allows you to save products and virtual samples into specific project folders, create presentations from these saved products, and manage both for your clients.
To access your Client Projects, click on the Client Projects option on the left.

Once Client Projects is launched, your list of clients and their related project sub-folders are located on the left side of the screen, a toolbar at the top, and the management area on the right.
You can store an unlimited number of projects and presentations within our Client Projects. To search for a project, use the Search for a Project box and click on Go. This will search your entire Client Project list.
Entering a search term will find all projects that match the criteria you entered. You can then click on the project name to view the details about that project.
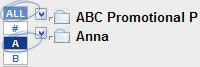
You can also filter the Client List. Click on any letter icon to pull up your clients that begin with that letter. Your clients are color coded as follows:
- White means there are no Client Projects in folder
- Blue means there are Client Projects in the folder
- Dark blue indicates which letter you are currently viewing
Also, the number icon will list all clients whose name begins with a number, and the All button will bring back all of your Client Projects. The clients and their projects, products, and presentations are shown in a tree format. Clicking on the arrows beside the Client or Project name will open and close the tree.
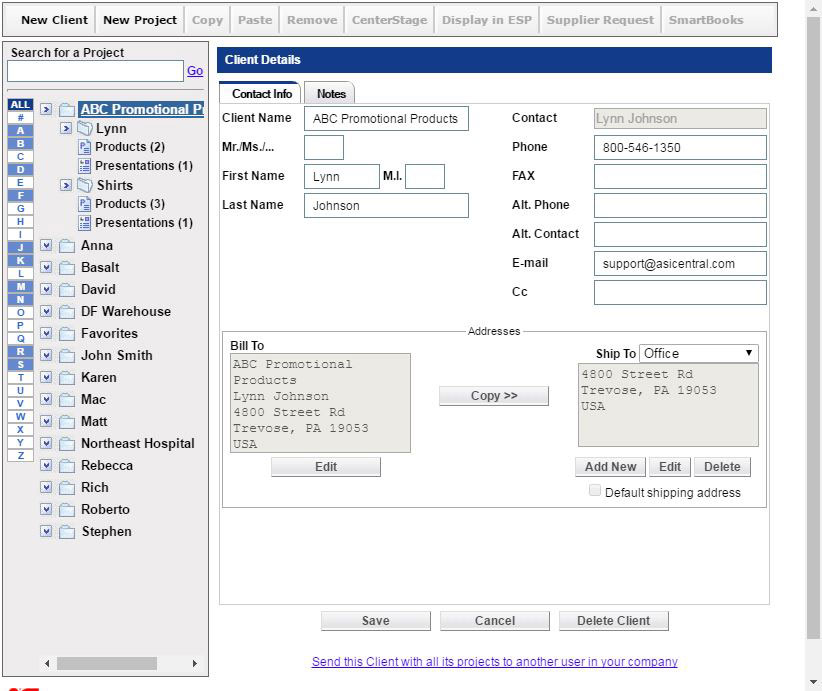
The client name is always at the top of the tree. By clicking on the name, you are able to view the Client Details section open to the right, where you can add or modify information for this particular client.
To enter information for this contact, just start typing in the field. The Client name is already filled in, as it is also the name of the folder. You can fill in any fields you wish.
To add a Bill To address, click on the Add Bill To button. The Edit Address Information box will open. Fill in the fields and then click on OK.

Then, you can use the copy button to use the same address for the Ship To address. Or, you can use the Add New button to create a new address for the Ship To.
The Notes tab enables you to store information relevant to the client, such as their birthday or other important information.
When any information in the Contact Info or Notes tabs has been added or edited, click on Save to update your information, or Cancel to close without saving the information. The Delete Client button will remove the client and all related project folders from Client Projects.
The related projects for each client are listed under the client’s name. You can have as many projects for a client as you like. Click on a project name, and the Project Detail screen displays on the right.

Just as with Contact Name, Project Name is automatically filled in from the folder name. You can also enter a Due Date and any relevant notes. After entering information, click on Save to save this information. Cancel will close out of the Project Detail view, and the information will not be saved. The Delete Project button will remove that project and its related presentations and products from Client Projects.

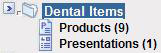
Every Project folder contains a subfolder for Products. If you have previously created a presentation for this project, there will also be a Presentations folder located here, under the Project folder.
The Products sub-folder contains all the products you have saved from ESP Online, and the Presentations folder contains all the presentations you have created for this client and this project. The number in parentheses reflects the number of products and presentations saved in that project.
Note: Any virtual samples that have been created for a client will be saved in their own folder under the client name.
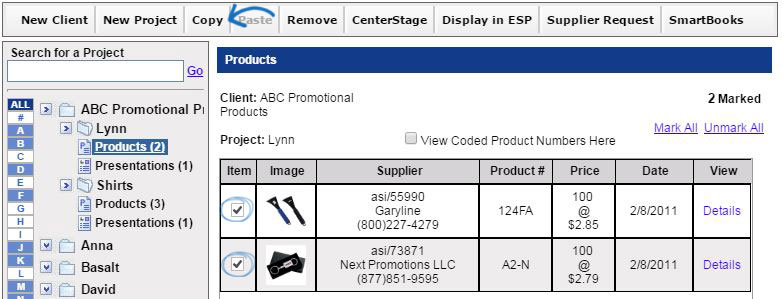
When you click into a product folder, the toolbar at the top will become illuminated. The New Client button will enable you to create a completely new client folder. The new project button lets you create a new project folder for the customer you are working with.
Copy allows you to select products in one project and paste them into another project. To copy products:
- Mark the products you want to copy
- Click the copy button in the toolbar
- Select the client and project you would like to move them to
- Open the products folder
- Paste them in using by clicking on the paste button in the toolbar
By marking products and clicking on Remove, the products are deleted from a project.
To create a presentation with saved products, you can use the "Centerstage" button. Mark the products you want to show your customer, click on the "Centerstage" button, and you can create an HTML or PDF presentation.
The "Display in ESP" button lets you mark products to be shown with full product information in ESP Online. "Supplier Request" enables you to create sales documentation such as purchase order or sample request for marked products. The "SmartBooks" button will open a pop up screen so that you can create a quote to save for ASI Computer Systems.
Note: You must be a subscriber to SmartBooks to use this functionality. Also, your user name and password must be in the ASI Computer System User Preferences screen to send data. For more details about these programs, please contact ASI Computer Systems.
In the products area, there is the option to view coded products numbers here. Coding the product numbers will create a code that unique to your company.
There are also two buttons: Mark All and Unmark All. If you have less than 100 products in a Product sub-folder, you can mark all products by clicking on this link. When more than 100 products are in our Project folder, this feature is unavailable.
 Français
 Español