


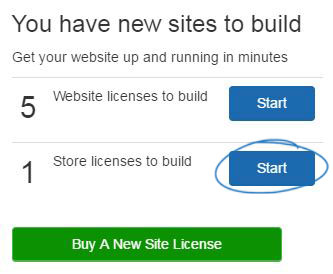
To begin building your Company Store, log into the ESP Websites Admin and click on the Start button.
Watch a Quick Demo of Store Builder
Store Builder Steps
Step 1: Template and Color
The first step to building a company store is selecting the template and color. Hover on a color to view the template with the color scheme. To select the template, click on the color swatch, then hover on the template thumbnail to access the Select and Preview options. Select will apply the template to your site.

After selecting a template and color scheme, you will be prompted to enter a store title and URL address. The store title will appear on the browser tab and in search results. You can use the URL address to create a unique link for the company store. This is the link that customers will use to access the company store. When entering the URL address, do not use spaces.
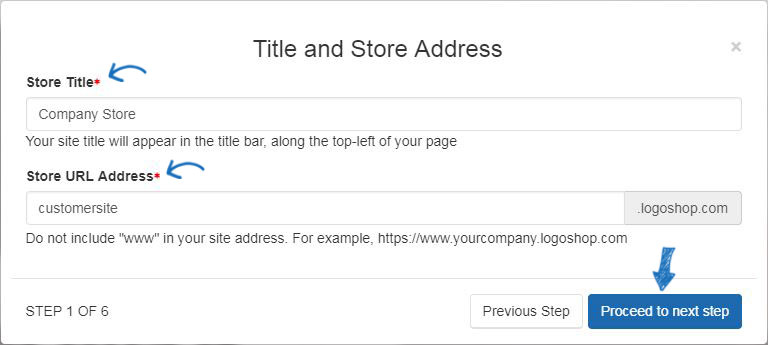
After setting the site title and URL, click on the Proceed to next step button.
Step 2: Upload Store LogoThe Upload Store Logo window enables you to drag and drop an image file from your computer to use as the logo for the company store or use the upload file link to browse your computer for the logo.If you do not have a company logo, type the company name in the "Or type a text logo" box. When you have finished, click on the Proceed to next step button.
The Company Info section, use the dropdown to select a company from the CRM. If the company is not in your CRM, click on the Create New Company option at the bottom of the dropdown and then enter as much information as possible.

You can select multiple companies if necessary. In the example below, the company store is linked with three companies from the CRM, one for the main location of the company as well as two additional locations.
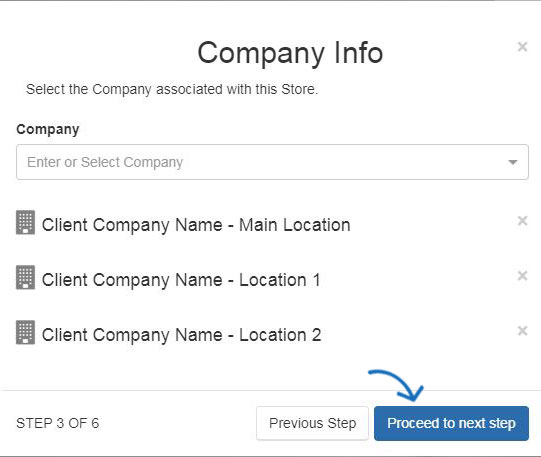
After selecting or adding company information, click on the Proceed to next step button.
Step 4: Introductory Text and About UsThe Headline and Introductory Text text boxes enable you can enter information that will be displayed on the site home page. Company stores are pre-built with an About Us page, where the information entered in the About Us text box will be displayed.
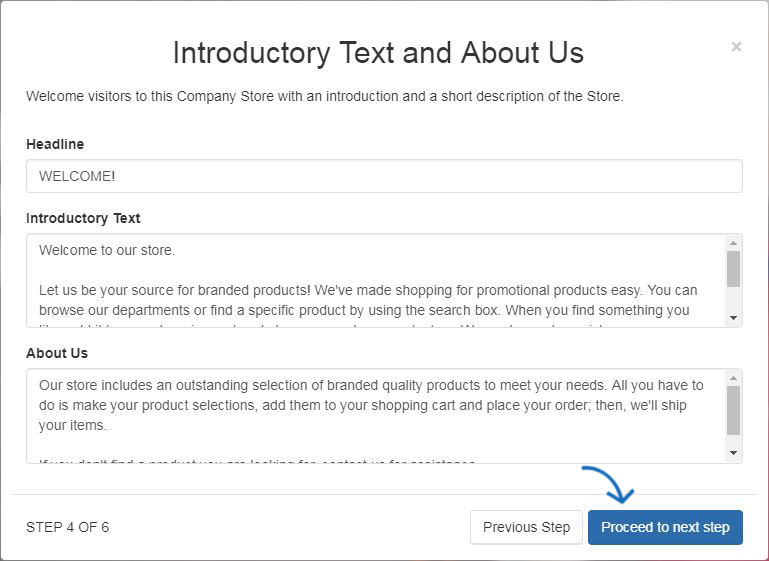
After adding information, click on the Proceed to next step button.
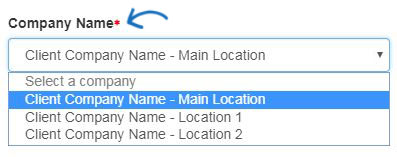
Step 5: Setup ypur Store Contact InfoIn the The Setup your Store Contact Info window, if a single company has been selected for the store, that company's information will be displayed in this window. If you have selected multiple companies, use the Company Name dropdown to select which company's information should be the contact information for the store.
Next, use the checkboxes for each section to select what company information should be displayed on the site.
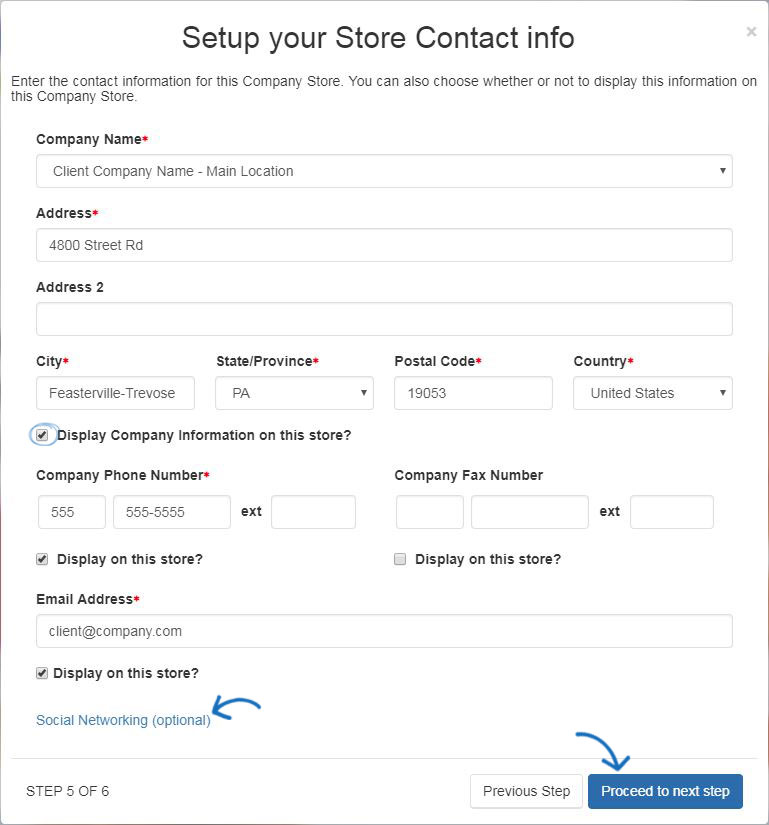
Use the Social Networking link to open a window where you can enter links to social media accounts, such as Facebook or Twitter.
After selecting the company information and social networking links (if applicable) to display on the store, click on the Proceed to next step button.
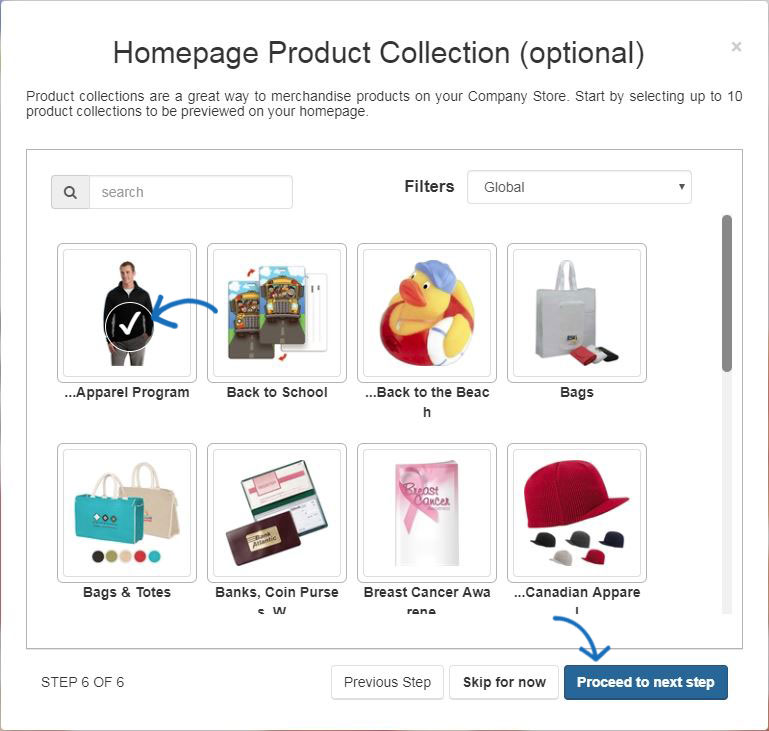
Step 6: Homepage Product CollectionThe final step is to select the product collection you would like displayed on the store. Use the search box to type the name of product collection or scroll through the available thumbnails. Once you locate the product collection you would like to display on the home page of the Company Store, click on it and then click on the Proceed to next step button.
Note: If you would not like to display a product collection on the home page, click on the Skip for Now button.
A preview of your site will open. In the upper right corner of the preview, there is the Publish button. The Publish button will make the Company Store live and ready for business!

 Français
 Español